jubal81
Well-known member
This turned out to be one of the most challenging builds I've done in a while because of the way I wanted everything to fit together.
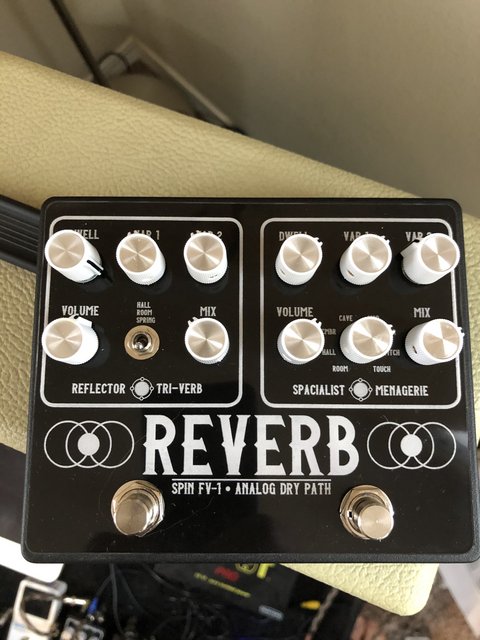
The idea is one side for subtle, always-on reverb and using channel-switching mode on the intelligent relay bypass to go to another, more intense reverb.
Left side is a Pythagoras with Spring, Room and Hall reverbs and the right side is an Arachnid Spacialist.
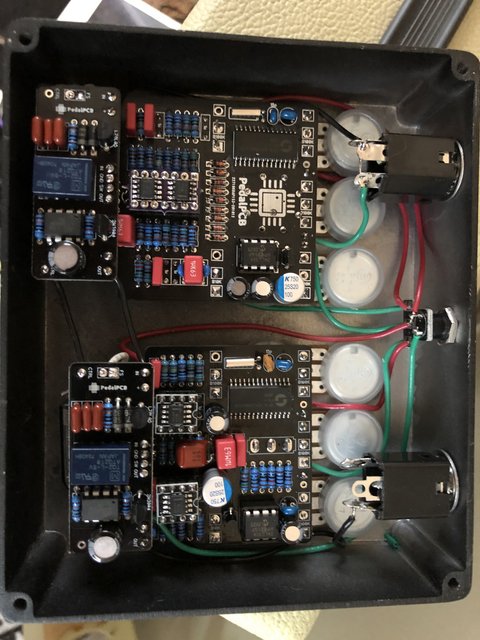
I prefer to use film caps for the 1uF, so a lot of those are mounted on the back sides of the PCBs. The Arachnid was juuuust a hair too long for my faceplate layout, so I had to shave off the wiring side with a file all the way down to the pads. Then I realized I'd reversed the Volume and Mix controls on my faceplate so I had to cross wire them. And moving the location of the LEDs was a lot trickier than I thought it would be because those damn 1uF warts all over the back.
The only deviation from the original projects are the volume and mix controls. Used audio taper for both and didn't connect Pin 3 on the mix. This leaves the dry path fully on all the time and just blends in the reverb path, which makes it a lot easier to dial in subtle settings. Did the same with my Hydra and it made it MUCH more usable for me.
Overall, works as envisioned and sounds great!

The idea is one side for subtle, always-on reverb and using channel-switching mode on the intelligent relay bypass to go to another, more intense reverb.
Left side is a Pythagoras with Spring, Room and Hall reverbs and the right side is an Arachnid Spacialist.
I prefer to use film caps for the 1uF, so a lot of those are mounted on the back sides of the PCBs. The Arachnid was juuuust a hair too long for my faceplate layout, so I had to shave off the wiring side with a file all the way down to the pads. Then I realized I'd reversed the Volume and Mix controls on my faceplate so I had to cross wire them. And moving the location of the LEDs was a lot trickier than I thought it would be because those damn 1uF warts all over the back.
The only deviation from the original projects are the volume and mix controls. Used audio taper for both and didn't connect Pin 3 on the mix. This leaves the dry path fully on all the time and just blends in the reverb path, which makes it a lot easier to dial in subtle settings. Did the same with my Hydra and it made it MUCH more usable for me.
Overall, works as envisioned and sounds great!