

OD is Glorious
Well-known member
- Build Rating
- 4.00 star(s)
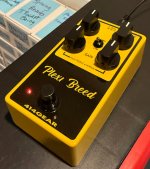
Meh I am not a fan I originally gave it 3 stars but then changed it to 4 because it has useable tones. More rolling sustaining distortion. It can clean up with the controls but it never really gets me the crunch of a proper overdrive. It sustains and gives me loads of saturation. I am happy with how it turned out and I think it has some useable tones as a distortion pedal - as an overdrive it is a bit complicated to set. I set the trim pots by ear.
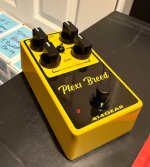
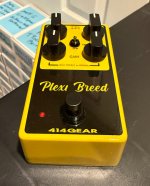
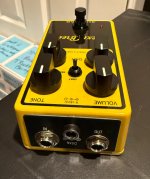
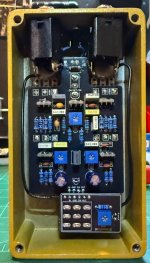
I used a Tayda Metallic Golden water texture 125b. I used a 3mm red diffused LED without a bezel (1/8th hole). The knobs are Davies 1510 and the decal is a film free with a 2k clear coat. The toggle is a black Taiway on/off/on SDPT with a black dress nut. I also used a black footswitch with a PPCB brightness control breakout board. I used a 10k trim pot there. I used a PPCB top jack plate and enclosed jacks. The build does not use any oddball parts or values.
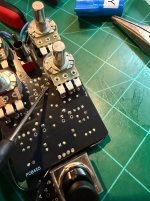
This circuit did not work straight away so I went through my checks and I missed a solder on this and you can see where it was in the picture.
Notes
- The BOM calls for ceramic caps in many more places - I used some alternative film caps that the BOM suggests
- I used SMD J201s soldered to boards - I also used bent male/male pin headers to mount them
- You need four 330p ceramic caps and one 470p - from there you can use film caps
Attachments
Last edited:
