coltonius
Well-known member
It was the busiest of times, it was the brokest of times, it was the age of rebuilding, it was the age of explosions, it was the epoch of grad school, it was the epoch of unfinished projects, it was the season of Solder, it was the season of Tone, it was the spring of hope, it was the winter of "What the f*** did I mess up now??"
Okay, thanks for indulging an aging English teacher.
Hi. I've been away for awhile to focus on grad school and my family. I don't know how often I'll be online, but at least grad school is drawing down to the finish. This past summer was less busy than anticipated, so I'm proud to say I actually finished a few projects! Enjoy...
Chapter 1: The Graduate
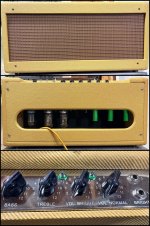
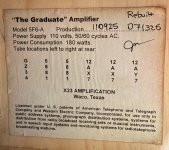
Build: 5F6-A Bassman
Configuration: head
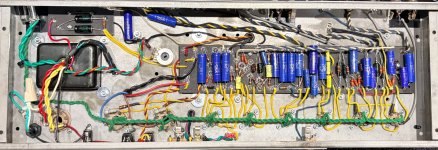
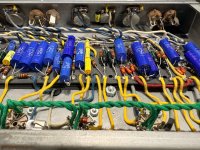
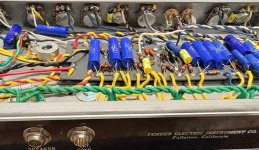
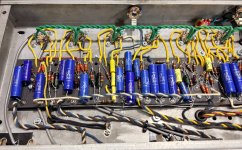
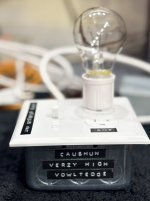
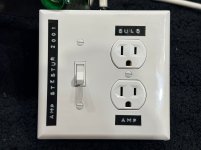
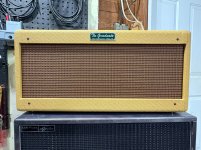
This one has been a multi-year endeavor, so the name felt appropriate. After my first power up in 2025 resulted in a spectacular BOOM! , I literally had to empty the chassis and rebuild this son-of-a-bitch from scratch. (If you're into building amps, I know what you're thinking--and the answer is no, a lightbulb limiter would not have saved it.) I accidentally followed the vintage schematic and installed the bias diode backward, creating positive bias for the power tubes instead of negative bias. Oops. Time to print a t-shirt that says, "I blew up my amp and all I got was dialectric residue all over the chassis."
Always double check your work and follow proper startup procedures before installing your tubes, kids.
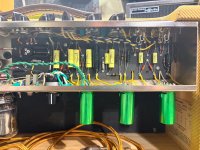
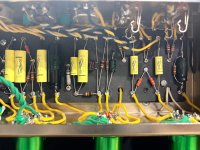
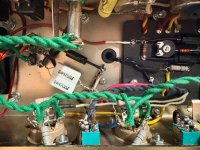
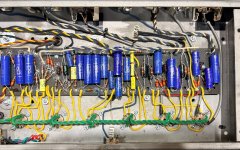
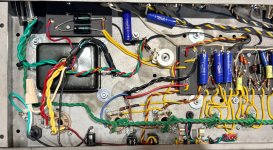
The project sat until this past summer when I decided to take another swing. Fortunately, both transformers survived the ordeal. Heyboers is tough, y'all. I kept the jacks too, but everything else was swapped out. Sockets, pots, everything. Yeesh. Fortunately, I took my time this go-round and made sure it was done right, which includes several mods.
On the faceplate:
In short, legendary! I'm especially fond of cathode bias mode, where I can coax a bit more grit out the amp without it peeling paint off the walls. So without further ado, enjoy some photos!


Okay, thanks for indulging an aging English teacher.
Hi. I've been away for awhile to focus on grad school and my family. I don't know how often I'll be online, but at least grad school is drawing down to the finish. This past summer was less busy than anticipated, so I'm proud to say I actually finished a few projects! Enjoy...
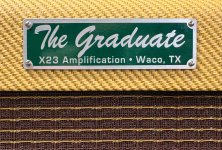
Chapter 1: The Graduate
Build: 5F6-A Bassman
Configuration: head
This one has been a multi-year endeavor, so the name felt appropriate. After my first power up in 2025 resulted in a spectacular BOOM! , I literally had to empty the chassis and rebuild this son-of-a-bitch from scratch. (If you're into building amps, I know what you're thinking--and the answer is no, a lightbulb limiter would not have saved it.) I accidentally followed the vintage schematic and installed the bias diode backward, creating positive bias for the power tubes instead of negative bias. Oops. Time to print a t-shirt that says, "I blew up my amp and all I got was dialectric residue all over the chassis."
Always double check your work and follow proper startup procedures before installing your tubes, kids.
The project sat until this past summer when I decided to take another swing. Fortunately, both transformers survived the ordeal. Heyboers is tough, y'all. I kept the jacks too, but everything else was swapped out. Sockets, pots, everything. Yeesh. Fortunately, I took my time this go-round and made sure it was done right, which includes several mods.
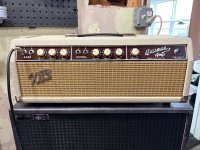
On the faceplate:
- Channel Jump
- Bass Boost (2uf)
- negative feedback (stock 27k vs. 56k)
- fixed bias vs. cathode bias
- 2w Vishay metal film resistors for the preamp plates. (I like to call these "covert comps" because they're brown and blend in with the other resistors.)
- 220k plate resistors for V1 to add a little more grit to the input
- real-world tone stack values (100k slope resistor and 100n mids cap)
- bias trimmer
- multi-output transformer (2, 4, 8 ohm)
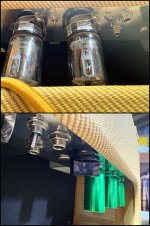
In short, legendary! I'm especially fond of cathode bias mode, where I can coax a bit more grit out the amp without it peeling paint off the walls. So without further ado, enjoy some photos!