What’s off by a few mm - your finished holes or your punch marks? And off relative to what - hole spacing, position relative to enclosure centerline, or position relative to board mounted components?
If it’s holes, the problem could be at the template positioning, punching, or drilling stage.
I use the paper templates. They’re great, but definitely not foolproof. It takes some care to get good accurate punch marks onto the enclosure. After doing about 50 of these, here are my tips.
Sharp scissors, working under magnification, careful cutting on one side of the lines, taking your time with the positioning, using your fingertips to feel for equal overhang of the template edges over the enclosure top radius.
I like to block the enclosure up off the table so the jack side of the template doesn’t touch the table. If the template includes the bottom face, I don’t bother cutting that out.
View attachment 83288
I also like working with some kind of weight sitting on the template so once I find the perfect position, it doesn’t move while I’m sticking the tape down. If it doesn’t feel perfect once it’s taped down, pull it up and start again.
View attachment 83289
There are some tricks to good center punching technique too. Even if your eyesight is good, try some magnifiers or reading glasses to really get zoomed in.
Try setting the end of the punch on your fingertip so your finger touches first and sort of roll the punch up into position. You can make really fine adjustments that way.
View attachment 83293
I drill on a manual milling machine, so I go right in with a step bit, but if you’re drilling with a hand drill, you may have better luck starting with a pilot hole using a small diameter drill bit. A small drill bit will stay in the punch mark much better than a full size drill.
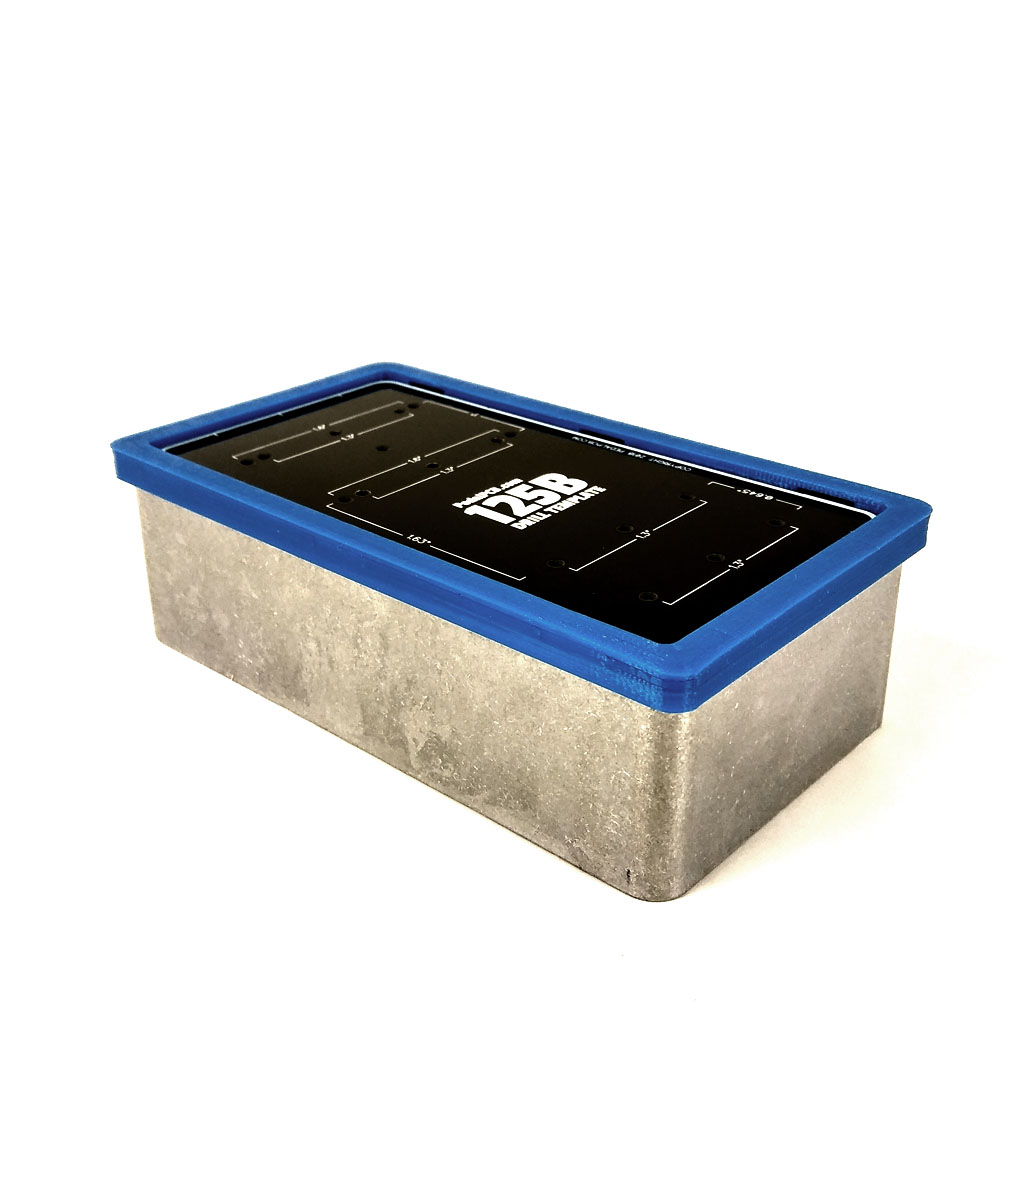
Also, if you’re not already using one of these, I’d highly recommend checking them out.
View attachment 83294