

OD is Glorious
Well-known member
- Build Rating
- 5.00 star(s)
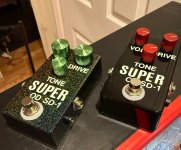
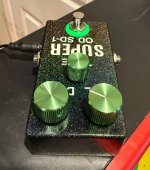
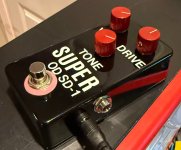
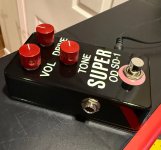
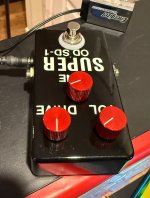
Someone asked me to build one, so I built two. They wanted black with yellow labels but it did not show up well so I went with bright white. First impressions of the circuit; it is not overpowered but has plenty of headroom. It does not really clean up by rolling off the gain, it stays crunchy even with the gain at 8pm. It is very creamy as you turn the gain higher and there is a distinct mid-hump. The tone knob really adds some sparkle. I would classify this as a low gain distortion pedal because it does not get transparent. The circuit is a bit noisy with the gain tuned up past 12. I still give this high marks, and if you love OD or dirt pedals you know you have to build one!
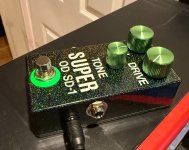
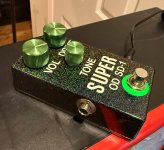
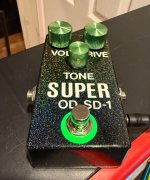
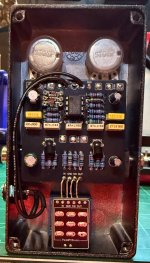
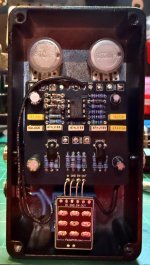
I used the odd 2SC732- picked them up on Ebay but I missed ordering the IN916s - so I just used IN4148s. There are no other hard-to-find parts. If building one of these for a 1590b you will need the short electrolytic capacitors for the 47u and the 100u. I used Lumberg side jacks because that is my preference. Everything fits in the 1590b rrelatively easily with a low 47u and a low 100u. I used the illuminated footswitches from Small Bear (hole is 11/16ths), The labels are white vinyl, 1/2 inch and 1/4 inch and they have been protected with multiple coats of SprayMax 2k glamour. The sparkly enclosure - I cannot remember where I got it... and the straight black enclosure is from Tayda... can I say here that I hate the thin walls that the sparkly one has? I use cobalt drill bits and I lubricate liberally, but these thin walls rip and gouge easily. Me no like!
Notes

I used the odd 2SC732- picked them up on Ebay but I missed ordering the IN916s - so I just used IN4148s. There are no other hard-to-find parts. If building one of these for a 1590b you will need the short electrolytic capacitors for the 47u and the 100u. I used Lumberg side jacks because that is my preference. Everything fits in the 1590b rrelatively easily with a low 47u and a low 100u. I used the illuminated footswitches from Small Bear (hole is 11/16ths), The labels are white vinyl, 1/2 inch and 1/4 inch and they have been protected with multiple coats of SprayMax 2k glamour. The sparkly enclosure - I cannot remember where I got it... and the straight black enclosure is from Tayda... can I say here that I hate the thin walls that the sparkly one has? I use cobalt drill bits and I lubricate liberally, but these thin walls rip and gouge easily. Me no like!
Notes
- If you do not have the !N916s just put some IN4148s in there - socket them in case you decide to get those IN916s
- The 2SC732 Transistors are sort of hard to get, so you can investigate alternatives if you do not. have them.
- JRC4558s are not hard to find, but if you do not have one - there are other dual op-amps you can use.
- The Illuminated footswitch requires planning, you need an 11/16" hole and the base of the switch is also large. I used a step drill bit.
Attachments
-
 IMG_1364.jpeg463.1 KB · Views: 12
 -
 IMG_1365.jpeg530.7 KB · Views: 12
 -
 IMG_1366.jpeg520.4 KB · Views: 8
 -
 IMG_1367.jpeg500.2 KB · Views: 24
 -
 IMG_1363.jpeg360 KB · Views: 23
 -
 IMG_1359.jpeg311.8 KB · Views: 23
 -
 IMG_1360.jpeg360.9 KB · Views: 14
 -
 IMG_1361.jpeg342.3 KB · Views: 18
 -
 IMG_1362.jpeg283.6 KB · Views: 20
Last edited:


