Guardians of the analog
Papi Fuego
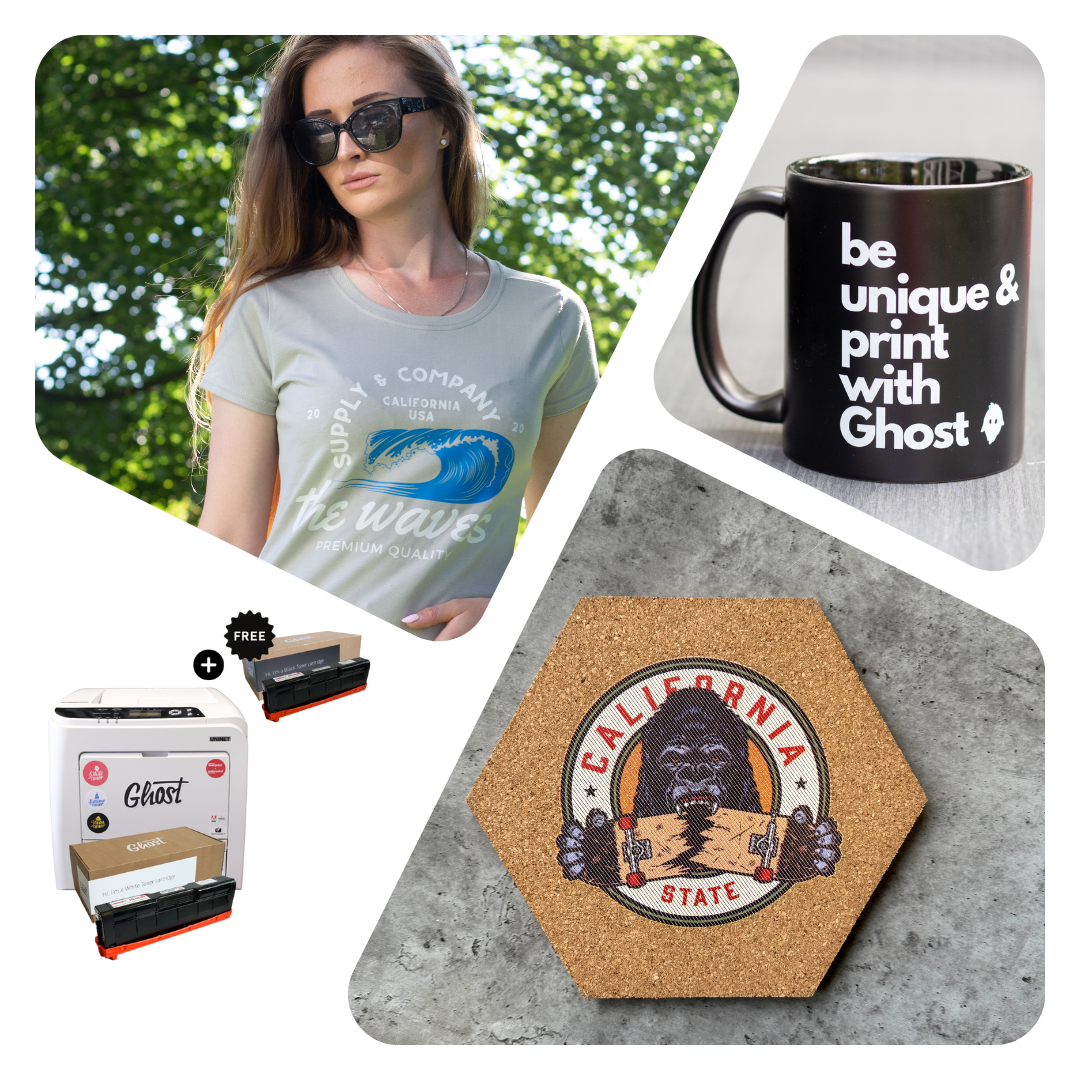
I asked if there was interest in a new no film tutorial and all but one person responded with yes, so here we go. First off I'm gonna start with the link to the product page. https://www.sunnyscopa.com/products...YpgtioHWDll1Nx4ZxmFXcJ&variant=36426730143910
What I like about this product to those new around here, is that I can get great enclosure art and not be tied down by shipping, tarrifs and workshop wait times. You will need a laser printer. I only have a black toner printer, but I have seen amazing results with color laser printers. The downside is the toner cost is very expensive on color. So assuming you have a laser printer let's get into it.
The first thing you want to do is make your artwork. I use affinity designer 2. Unlike UV printing from tayda, you aren't bogged down by layers and swatches and all the nonsense. But, unlike tayda, not all colors will represent as accurate on all colors of enclosures. so be aware of that when doing your design. Dark enclosures will be harder to see so stick with lighter colored boxes. Once you have your design done it's time to print. It's super important you remember to invert your design before printing. Unlike a regular waterslide, film free is applied with the image backwards so that when the film is removed the toner will be in the correct orientation. I usually print 3 designs at a time to get the most pedals out of a sheet of paper.
I like to make a border around my print to make it easier to align to the enclosure, you can do it however you prefer, but you will have to cut out you design. You want to cut it so it fits inside the face of the enclosure and doesn't hang off. I leave a mm or two over my border when I trim it.
Next up I clean my enclosure. I'm using raw enclosures and I really like the look and feel that I get fantastic adhesion. I'm using alcohol wipes so I can get any grease, oil and other contamination that will prevent the glue and toner from properly sticking to the face of the enclosure. Let it fully dry and make sure no dust or hair/lint is on it before you proceed.
I like to tape off the sides to make cleaning any glue drips easier, but this is optional and completely up to you.
Next I set up my work area and get everything ready. Once you start you don't have time to back track. Here is everything I will be using.
I have a container for my water. Some paper towels, my glue, squeegee from the website, a brush and some tweezers for lifting the paper backing. I use a small jar of water to put the brush in once done with the glue because it's water soluble. I use tap water for this, depending on your water conditions you may want to use distilled water. I recommend using Luke warm water, since cold water has given me adhesion issues and hot water can make the film swell and distort your design.
I put the cut decal in the water and let it sit for around 30 seconds or until the film starts separating from the paper. Then I take it out of the water and dry it off on the paper towel.I put it between a couple pieces and gently pat it dry. You don't want to water down the glue. While it's sandwiched between the paper towel I now add my glue to the enclosure.
Make sure you shake the glue up well and use your brush to apply the glue to the enclosure. Use enough glue to have a good even coating over the entire face. You don't want to over do it but make sure you have enough as this is what's going to hold your toner in place. I'm using the W1+ glue and it's what I recommend. Because the glue is water soluble its important to fry water off the decal because water will make the glue less effective. The water is really only to separate the paper from the film.
Now the tricky part. Apply your decal with the film side down and paper side up. You want to position the decal so it's centered. Move quickly as the glue will inevitably start drying once the decal is applied and moving the decal once that happens can result in the toner breaking up and ruining your design. In the event of a failure, you can still start over at this point. You just have to wash all the glue, wipe down with alcohol and start over again.
now that the decal is in place, gently remove the paper backing. I start at a corner with my tweezers and finish by hand. I like to hold the film in place with a finger on the edge so it doesn't slide out of place. I couldn't take pictures and do this at the same time. Once the paper is off, you have one last chance to adjust the placement while it's still wet enough to move. I like to add a little water to my finger and moisten the top of the film so I can move the film without disrupting the toner.
In the next post we will continue with securing the film in place.
What I like about this product to those new around here, is that I can get great enclosure art and not be tied down by shipping, tarrifs and workshop wait times. You will need a laser printer. I only have a black toner printer, but I have seen amazing results with color laser printers. The downside is the toner cost is very expensive on color. So assuming you have a laser printer let's get into it.
The first thing you want to do is make your artwork. I use affinity designer 2. Unlike UV printing from tayda, you aren't bogged down by layers and swatches and all the nonsense. But, unlike tayda, not all colors will represent as accurate on all colors of enclosures. so be aware of that when doing your design. Dark enclosures will be harder to see so stick with lighter colored boxes. Once you have your design done it's time to print. It's super important you remember to invert your design before printing. Unlike a regular waterslide, film free is applied with the image backwards so that when the film is removed the toner will be in the correct orientation. I usually print 3 designs at a time to get the most pedals out of a sheet of paper.

I like to make a border around my print to make it easier to align to the enclosure, you can do it however you prefer, but you will have to cut out you design. You want to cut it so it fits inside the face of the enclosure and doesn't hang off. I leave a mm or two over my border when I trim it.
Next up I clean my enclosure. I'm using raw enclosures and I really like the look and feel that I get fantastic adhesion. I'm using alcohol wipes so I can get any grease, oil and other contamination that will prevent the glue and toner from properly sticking to the face of the enclosure. Let it fully dry and make sure no dust or hair/lint is on it before you proceed.

I like to tape off the sides to make cleaning any glue drips easier, but this is optional and completely up to you.

Next I set up my work area and get everything ready. Once you start you don't have time to back track. Here is everything I will be using.

I have a container for my water. Some paper towels, my glue, squeegee from the website, a brush and some tweezers for lifting the paper backing. I use a small jar of water to put the brush in once done with the glue because it's water soluble. I use tap water for this, depending on your water conditions you may want to use distilled water. I recommend using Luke warm water, since cold water has given me adhesion issues and hot water can make the film swell and distort your design.

I put the cut decal in the water and let it sit for around 30 seconds or until the film starts separating from the paper. Then I take it out of the water and dry it off on the paper towel.I put it between a couple pieces and gently pat it dry. You don't want to water down the glue. While it's sandwiched between the paper towel I now add my glue to the enclosure.

Make sure you shake the glue up well and use your brush to apply the glue to the enclosure. Use enough glue to have a good even coating over the entire face. You don't want to over do it but make sure you have enough as this is what's going to hold your toner in place. I'm using the W1+ glue and it's what I recommend. Because the glue is water soluble its important to fry water off the decal because water will make the glue less effective. The water is really only to separate the paper from the film.

Now the tricky part. Apply your decal with the film side down and paper side up. You want to position the decal so it's centered. Move quickly as the glue will inevitably start drying once the decal is applied and moving the decal once that happens can result in the toner breaking up and ruining your design. In the event of a failure, you can still start over at this point. You just have to wash all the glue, wipe down with alcohol and start over again.
 now that the decal is in place, gently remove the paper backing. I start at a corner with my tweezers and finish by hand. I like to hold the film in place with a finger on the edge so it doesn't slide out of place. I couldn't take pictures and do this at the same time. Once the paper is off, you have one last chance to adjust the placement while it's still wet enough to move. I like to add a little water to my finger and moisten the top of the film so I can move the film without disrupting the toner.

In the next post we will continue with securing the film in place.
Last edited:


 . You and