first pedal build: cleaver boost

So, it's official. I am making the Aurum. I think this will be a good 1st pedal. I saw a you tube video suggesting to use 22 gauge wire. However, I did not see anything in the PCB website about this and I did not see anything specific in the build document. Is this correct and is it the standard used in all pedals? Also, when looking at the parts list, I don't see anything about a1/2 in or out jack and I don't see anything about power input? I know I will need knobs as well and these aren't listed either, but this is obvious and is up to the builder to choose the style of knobs. But with reference 1/4" to signal in and out how do I know what to get. Tayda has so many options. Same with power supply?
 
Last edited:
So, it's official. I am making the Aurum. I think this will be a good 1st pedal. I saw a you tube video suggesting to use 22 gauge wire. However, I did not see anything in the PCB website about this and I did not see anything specific in the build document. Is this correct and is it the standard used in all pedals?
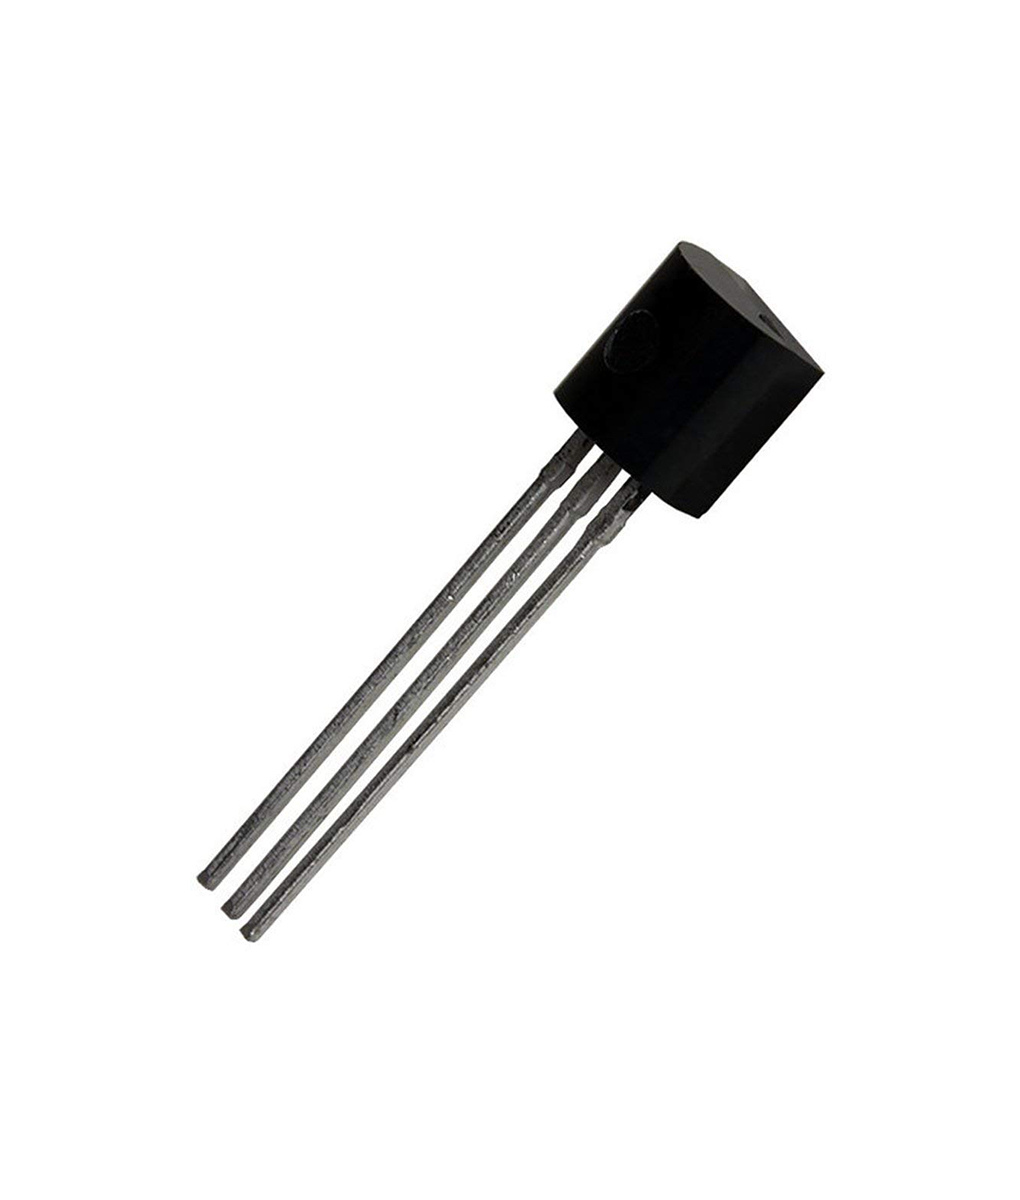
22 gauge wire is fine its what i use with no problems.
 
For the signal and power jacks it’s really up to you. I use these mostly from tayda


Wire is also up to you and what you like. Stranded cable is more flexible, but a bit more difficult to work with when soldering to a pcb. I tend to like solid core but is a real PITA when you have to solder 2 wires together (you won’t do that for a standard pedal) Color is dealers choice. Wire gauge is what you’re most comfortable with with the range between 24-20 for pedal applications. I like 22 gauge and you can get a box of different colors from Amazon for a decent price. The colors help me wire up the in/out/ground connections easier and for potential troubleshooting, but many people here choose one color for all the internal wiring. If just starting out just pull the trigger from tayda for a few feet of different kinds and see what you like. I think it’s $0.10 a foot.
 
Footswitch wiring shouldn't be something to fear. It should be simple and fast. The trick is simply to keep your iron clean - a fine point or small wedge is preferable - be the right temperature, and work with fine flux core solder. If you get the wire in place first, with just a small amount of bare wire exposed and tinned, you should only need a second with the iron and solder. Problems arise when the iron isn't quite hot enough, or there is oxidation somewhere (switch/solder/iron/wire), or you're trying to juggle too many things.

Don't try to poke wire through a lug which already has solder on it. If the lug has solder on it get it off first. For the lugs which join each other use solid wire - cutoffs from diodes work well, being just a bit thicker than resistor wire. Here the solder on the wire link between pins 1 & 4 is probably too globby but it works. All wires were soldered once the ends were tinned with solder and placed into the lugs. Then it only takes a second or so with the iron and some rosin-core solder to finish the job. Let the iron contact both the lug and the wire equally.

For the link wire I always solder the single end first. Then the end which has the other wire added to it will stay in place while both wires can be soldered at the same time. FWIW I use stranded wire because it's less likely to break in use. Solid wire is easier to work with but as you move things it can snap and you might not notice.

Horsemeat int copy.jpg
 
Good luck on your first build!
Do you have a multi meter? I didn’t have one when I started but quickly found out it is pretty useful/necessary. As a habit, I use it to check the footswitch, whether I use a mini board or not, and all the other wiring connections before I plug it in. I also use it to check all the resistors, in addition to using the color codes. Oh, which is another tip, I double and/or triple check the parts before I insert them PCB.

And when there is a problem, many times the guys here will want to know certain measurements to help diagnose what is wrong. I’ve been there several times😀
 
Last edited:
Good luck on your first build!
Do you have a multi meter? I didn’t have one when I started but quickly found out it is pretty useful/necessary. As a habit, I use it to check the footswitch, whether I use a mini board or not, and all the other wiring connections before I plug it in. I also use it to check all the resistors, in addition to using the color codes. Oh, which is another tip, I double and/or triple check the parts before I insert them PCB.

And when there is a problem, many times the guys here will want to know certain measurements to help diagnose what is wrong. I’ve been there several times😀
It is funny you should ask. I have 2 but one is an extremely cheap one. My other one is around $30 dollars but it is 20+ years old, not self ranging, and is not reading resistor (ohms) correctly at all. I have been doing a lot of research on different brands/models and have been arguing with myself about how nice of a multimeter I need to get. Mostly interested in building guitar pedals, amps, working on old stereo equipment, building speakers and other similar jobs. I would love some recommendations or guidance on specs I should be looking for.
 
Back
Top