M800 Latest Update : I revisited the pedal 2 days ago, https://forum.pedalpcb.com/threads/m800-overdrive.935/, as I had recently acquired some Genuine NOS Siliconix J201 with the Dot.
I removed the Fairchild J201's & replaced with the Siliconix J201's.

I set them all to 4.5v except Q4 which has fixed voltage.
It worked instantly & Sounds better than before at 4.5V with even better sustain & more Headroom.
The Fairchild J201's had to be adjusted by ear as they were out of spec at 4.5v, remnants of what is left for the picking & the poor Receiver at the other end!
I have spoken to a few members that have been less than happy with their Build.
Chuck D. Bones has listed the specs that need to be measured to get maximum performance from the J201.
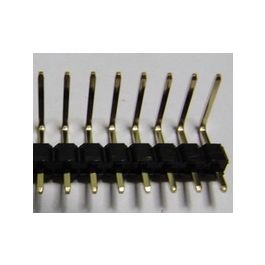
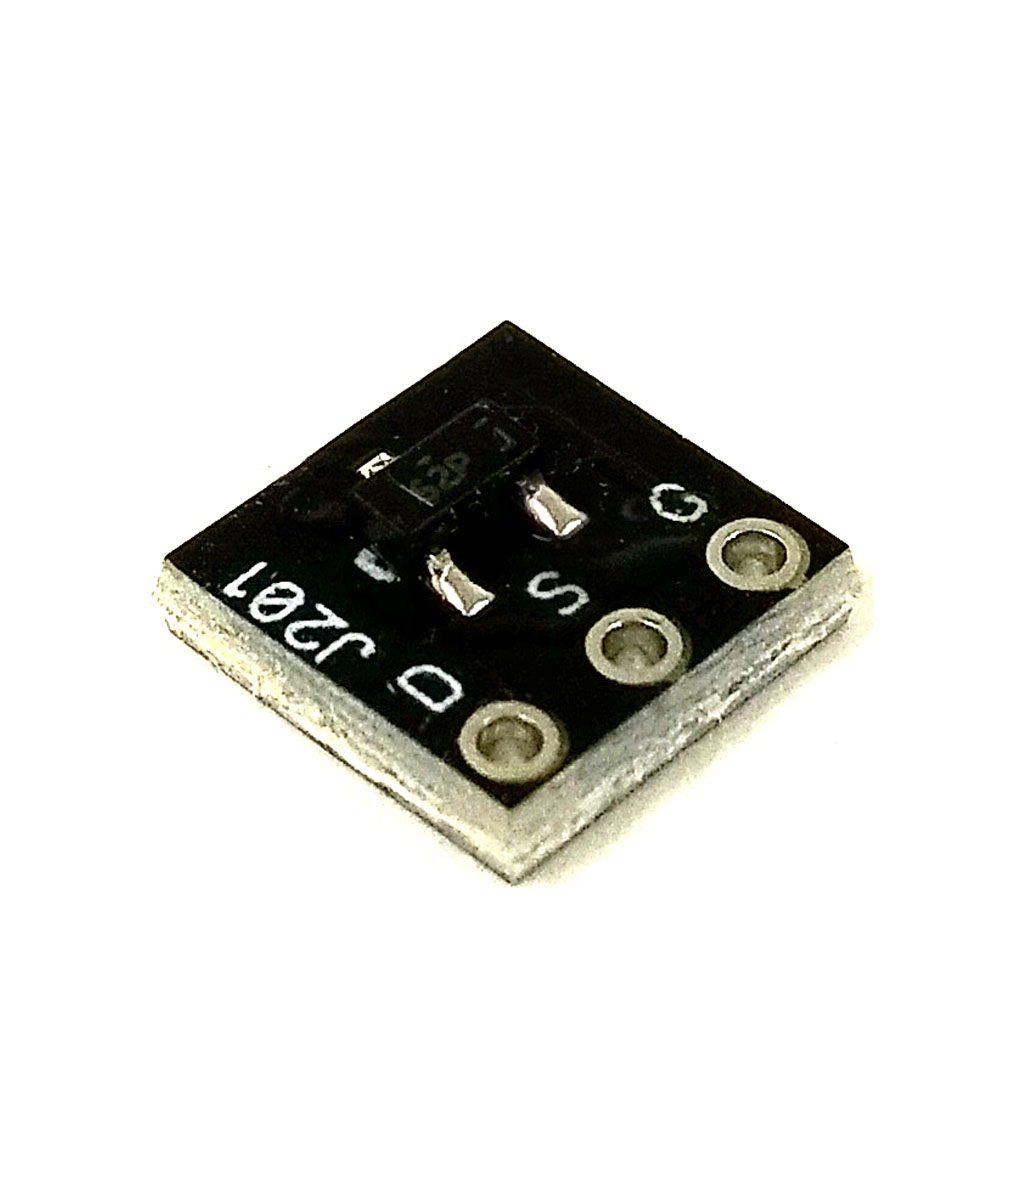
PedalPCB now offers the more stable SMD J201 & Adaptor Board pre soldered or as separate purchases.
This Pedal sounds Great but has to be with Genuine J201's that are in Spec with IDSS & VGS.
I removed the Fairchild J201's & replaced with the Siliconix J201's.

I set them all to 4.5v except Q4 which has fixed voltage.
It worked instantly & Sounds better than before at 4.5V with even better sustain & more Headroom.
The Fairchild J201's had to be adjusted by ear as they were out of spec at 4.5v, remnants of what is left for the picking & the poor Receiver at the other end!
I have spoken to a few members that have been less than happy with their Build.
Chuck D. Bones has listed the specs that need to be measured to get maximum performance from the J201.
PedalPCB now offers the more stable SMD J201 & Adaptor Board pre soldered or as separate purchases.
This Pedal sounds Great but has to be with Genuine J201's that are in Spec with IDSS & VGS.
Last edited:

")