Power jack quick disconnect options

Giorfida

Well-known member
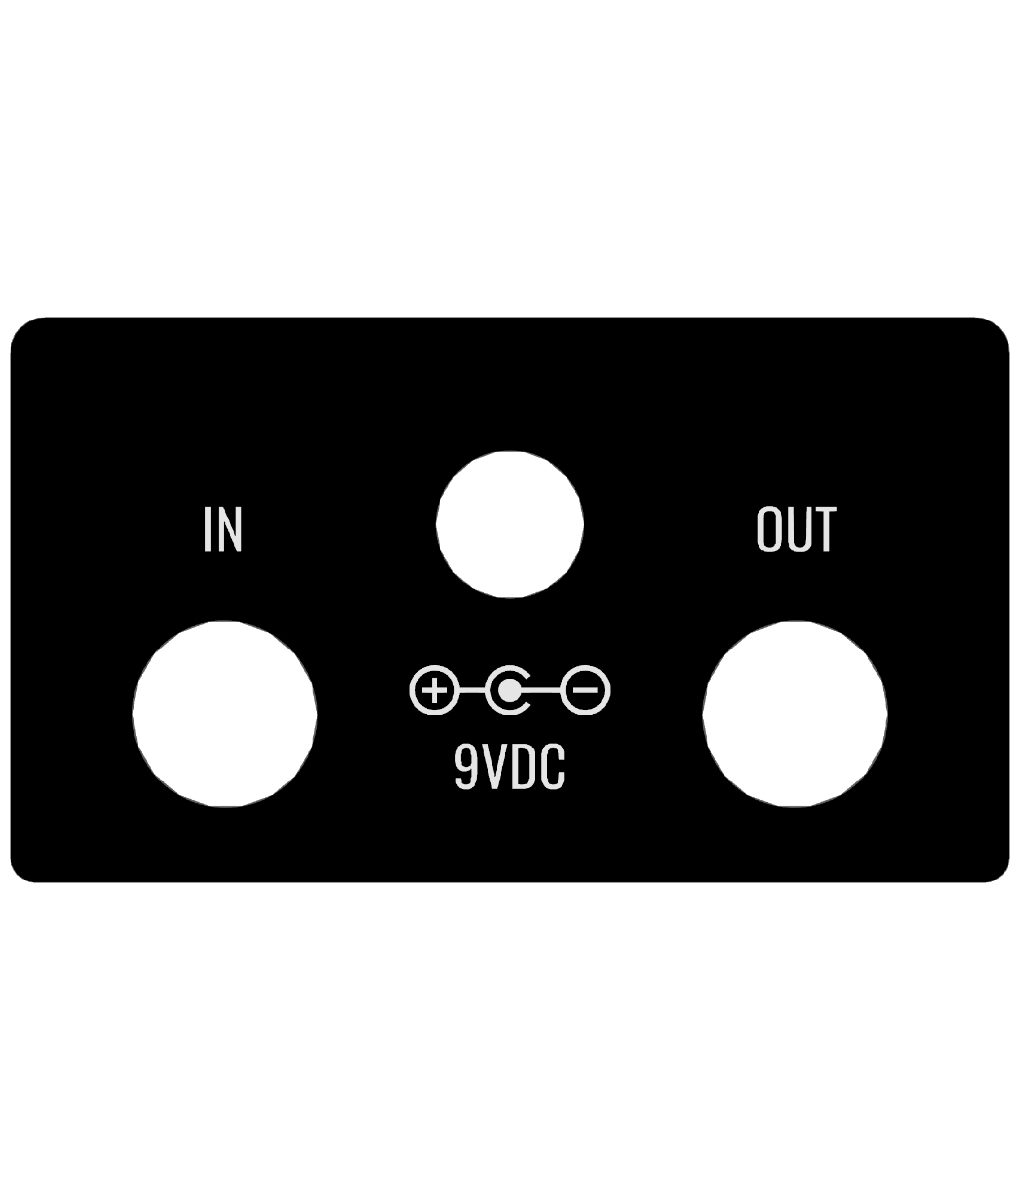
I currently use the type of connector below. Unfortunately, you can’t remove it without unsoldering, which often destroys the plug.
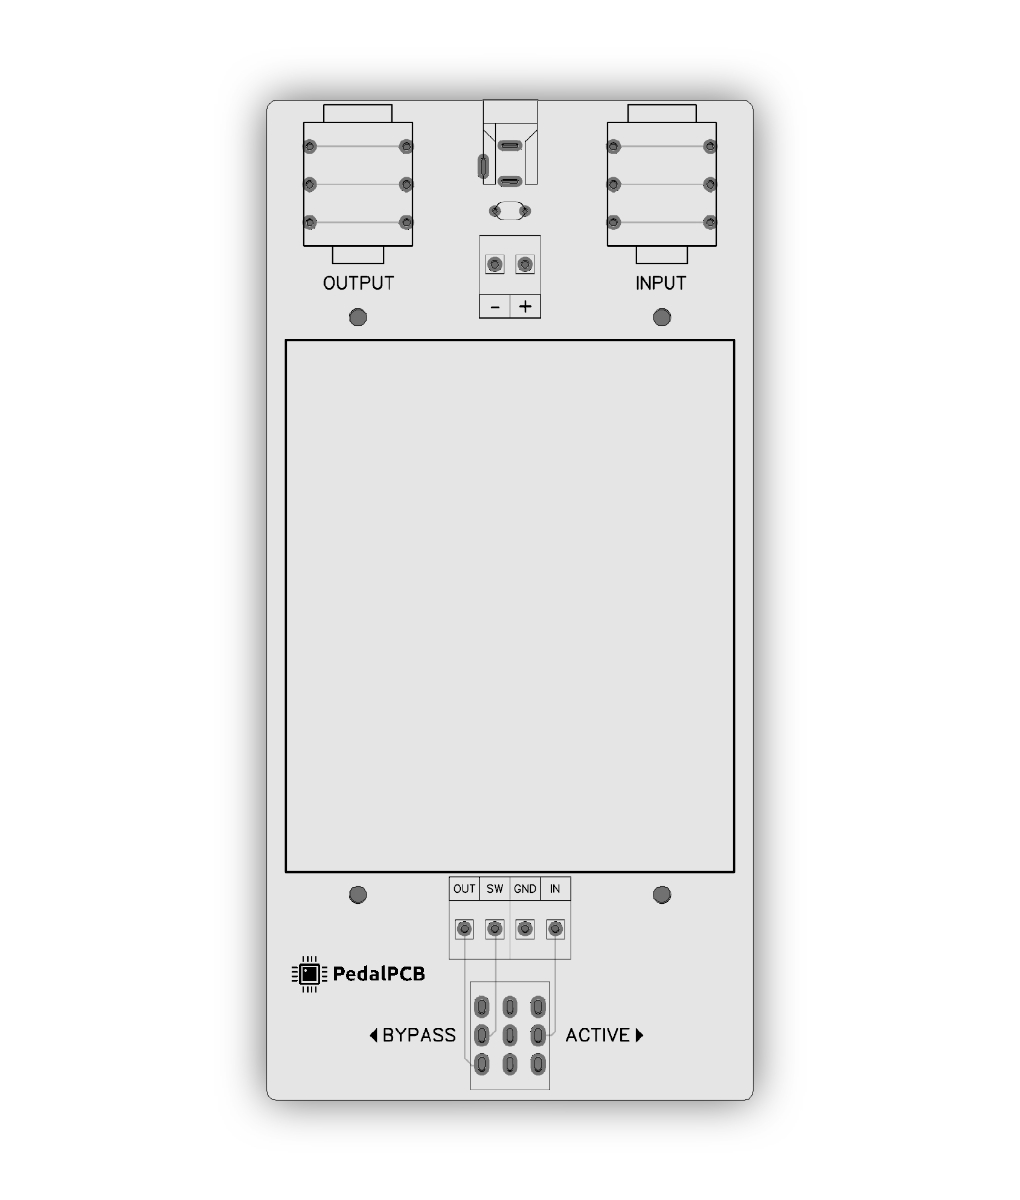
As I have most of my pedals unlabeled, waiting to get a few more done to maximize use of the sheets. As such I’m likely going to have to remove everything to apply decals/clearcoat.

That said, has anyone used spade connectors to attach to the jack, or something like a micro wago connector (if it exists)?

IMG_5656.jpeg
 
I’d suggest getting the auditorium. It’s one of those things you’ll think “how did I live without this?” Or “why did I wait so long”.

cool product but won’t help with what I want. I want to be able to use the pedals for a few weeks/months before labeling. In other words, they will be in cases for a while before I get around to labeling
 
If you add an extra nut on the inside, an Outie doesn’t end up sticking out nearly as far, about on-par with the small Lumbergs. Worth a shot!View attachment 68868
Not a bad thought. May do this when I burn through the rest of my innies.
Although now it means I will have to drill every enclosure (at least one hole) vs using predrilled out of the box
 
such a big hole for the innie though.
and then you can't use these (well, not without reaming it)

you could try, instead of threading the power leads through the solder tags of the jack, just tack it on with a light amount of solder if you plan to pull it later on.
 
Although now it means I will have to drill every enclosure (at least one hole) vs using predrilled out of the box
Indeed, whenever I use a pre-drilled Tayda, minimum I have to ream out the LED hole to 6mm for the bezels I use and 1/2” for the DC Jack. Takes maybe 30 seconds and lets me use the parts I prefer though
 
such a big hole for the innie though.
and then you can't use these (well, not without reaming it)

you could try, instead of threading the power leads through the solder tags of the jack, just tack it on with a light amount of solder if you plan to pull it later on.
That isn’t a bad idea. So simple that I’m kicking myself for not thinking of it!!

Indeed, whenever I use a pre-drilled Tayda, minimum I have to ream out the LED hole to 6mm for the bezels I use and 1/2” for the DC Jack. Takes maybe 30 seconds and lets me use the parts I prefer though
If I get predrilled, I don’t use a bezel. I just jam in the 5mm LED and call it a day. If that’s near the switch I’ll throw some hot snot on it to hold it in.
 
I use XH when the board is layed out to have +- next to each other(non-ppcb)
Otherwise I use one of these , 4 pole variety.
I actually use 2, one at each end of the board. Run female Dupont to banana jacks to my test box jig. There's banana to 1/4 jacks there.
You could interface other things as well like the various test bends, audition thingy, etc. this was just parts I had. You do have to shave down the clamps a little to fit between two pots(wear eye and lung protection, fiberglass is bad)
As it is. I can snap a board in in 10nsecond to test. No soldering of wires or footswitches.
Its good to have a 6 pole version as well btw.
 
You can get 2 point 2.54mm connectors cheap off AliExpress. I'll find the link for the ones I bought. They work perfectly.
 
Back
Top