Thoughts on Power I/O Module?

szukalski

Well-known member
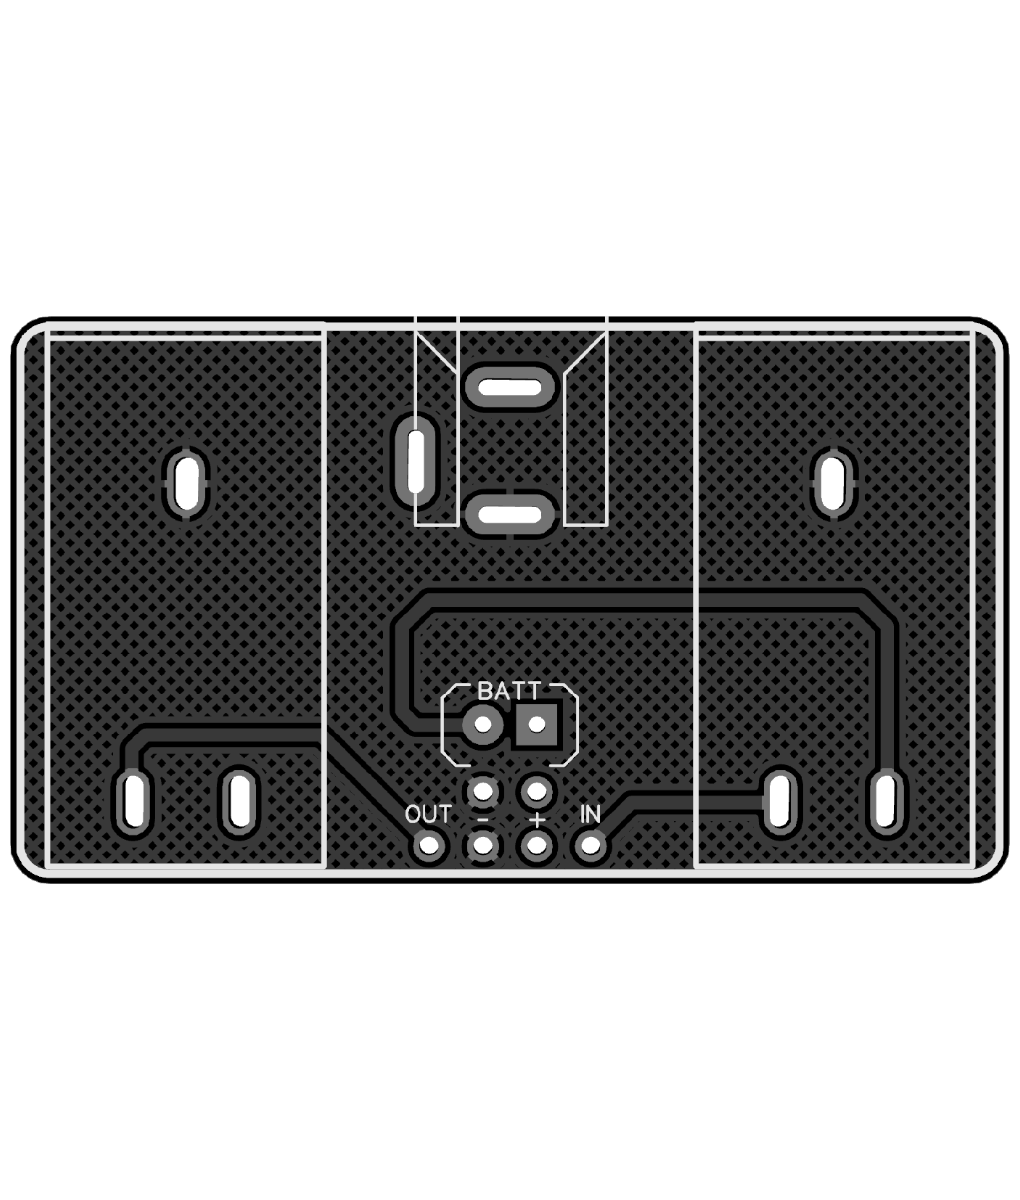
Anyone using the Power I/O module?

I like the idea of having a bunch pre-made for builds, components can be found easily at Daier, and I have penchant for enclosed sockets.

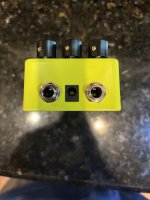
Only thing I am curious on is how clean the DC jack hole looks, and if there is any issue getting a DC jack in with the DC socket being on the inside of the enclosure.
 
I've used them in a couple builds:

I haven't had any issue with plugging in power, but the I/O jacks do stick out a bit more than I'd like. You may want to hold out for the newer flush-mount version: https://www.pedalpcb.com/product/pcb429/
 
I've used them in a couple builds:

I haven't had any issue with plugging in power, but the I/O jacks do stick out a bit more than I'd like. You may want to hold out for the newer flush-mount version: https://www.pedalpcb.com/product/pcb429/
Any physical interference with the main circuit board? I desire to integrate these on future builds, and am curious if you have to adjust spacing of other parts to accomodate this, or if its more or less good to go with the standard drill templates.
 
Any physical interference with the main circuit board? I desire to integrate these on future builds, and am curious if you have to adjust spacing of other parts to accomodate this, or if its more or less good to go with the standard drill templates.
The I/O boards are low-profile with the jacks that are specified. I don't recall having issues with vertical spacing between the main and I/O boards on the few builds that I used them on. The standard drill template with staggered vertical alignment will not work with these boards, you'd need to use the drill template found on the product page.
 
The I/O boards are low-profile with the jacks that are specified. I don't recall having issues with vertical spacing between the main and I/O boards on the few builds that I used them on. The standard drill template with staggered vertical alignment will not work with these boards, you'd need to use the drill template found on the product page.
Thank you Brett, I suppose I should have specified that vertical clearance, with respect to the “north” side of the board.. like if the drill holes for the top mounted pots orient the IO board’s “south” side too close.
I prefer to take the 125D drill templates and adapt onto 1590BBS/BB2 enclosures for a bit more wiggle room.
Shoot, I also typically move the power Jack to be in-line horizontally with the foot switch, side mounted on the left side of the finished enclosure, just to have enough play to remove the board without desoldering the internal nut power jacks.
 
Hi there, will this power module work with all PedalPCB boards? I'm finishing up a Spirit Box and think this I/O module could be a clean solution, along with the 3PDT breakout board. Cheers.
 
Hi there, will this power module work with all PedalPCB boards? I'm finishing up a Spirit Box and think this I/O module could be a clean solution, along with the 3PDT breakout board. Cheers.
It looks clean on the inside, sure. But the power socket sitting behind a hole (with bare aluminum from the drilling, if you did that yourself, showing) in the enclusure isn't all that great looking, in my opinion. Maybe if you'd wire that to a screw-mounted socket?
 
I agree that it's best if the enclosure is powdercoated after drilling with the standard version.

Not just because of appearance.... if you don't oversize the hole enough the barrel of the DC jack can make contact with the grounded enclosure.
 
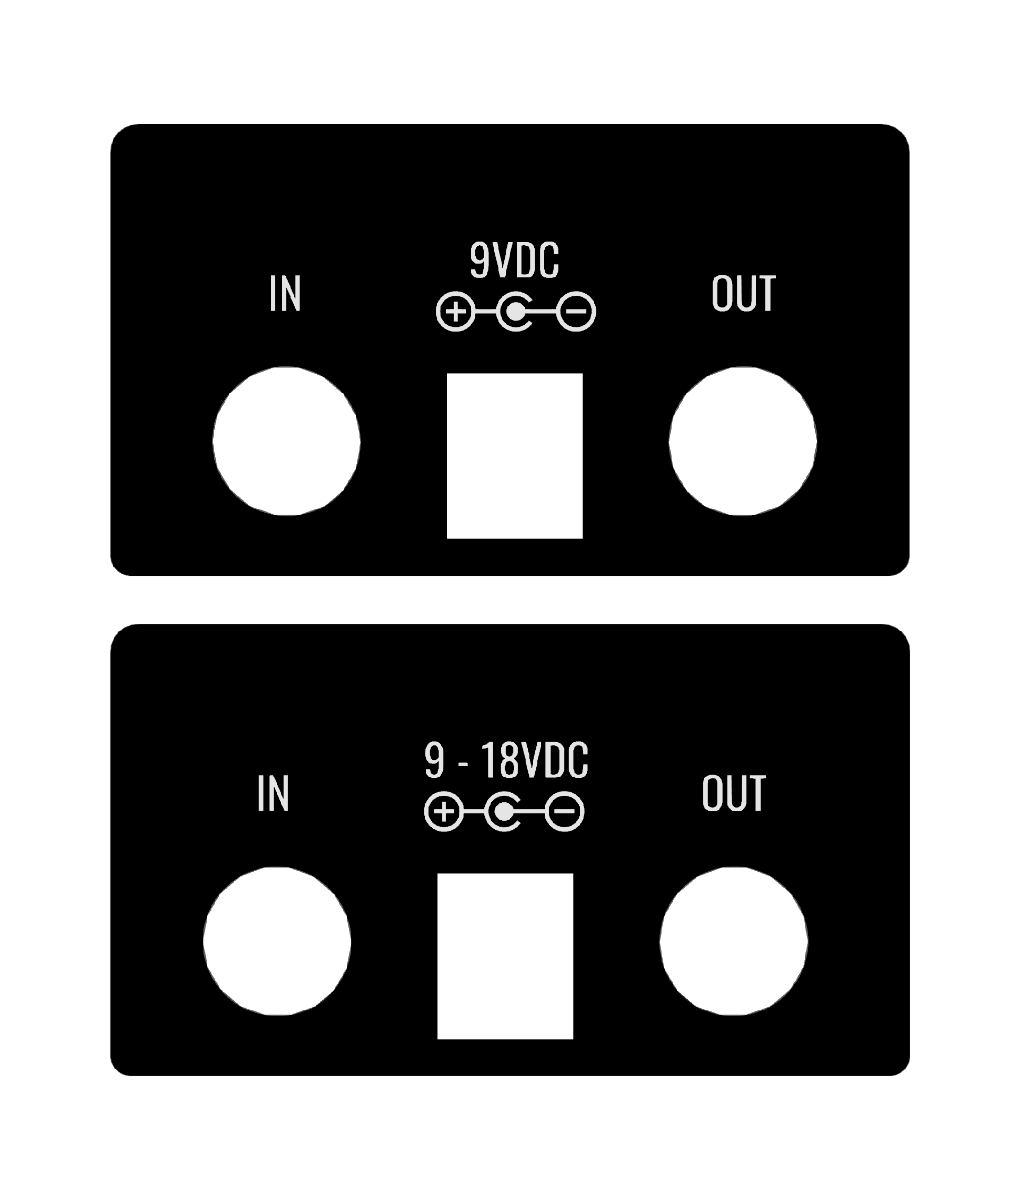
It looks like the flush mount is meant to be used with one of the faceplates, and you drill a large circular hole big enough for the power jack to fit thru. The faceplate covers this and the power jack is then flush with the face plate.
 
I am wondering how to make a rectangular hole for the power input though.

You can use a faceplate like @falco_femoralis suggested, or you can use Tayda's drilling service and they'll cut a rectangular hole for you.

Yes, the Power I/O module fits in the enclosure with most of the projects here.
 
Back
Top