TUTORIAL Fuzz Face and a Request From All of You

BuddytheReow

Breadboard Baker
The Fuzz Face. One of the first and most iconic fuzz circuits around. It is debatable whether there are more iterations of this classic circuit or the Big Muff Pi out there, so I'll let you be the judge. For any breadboarder or pedal creator out there, the Fuzz Face is almost a rite of passage in your build journey. IMO, everyone needs to build or play through a Fuzz Face, a Rat, and a Muff at some point in their life. They all have distinct sounds and are useful in a multitude of situations.

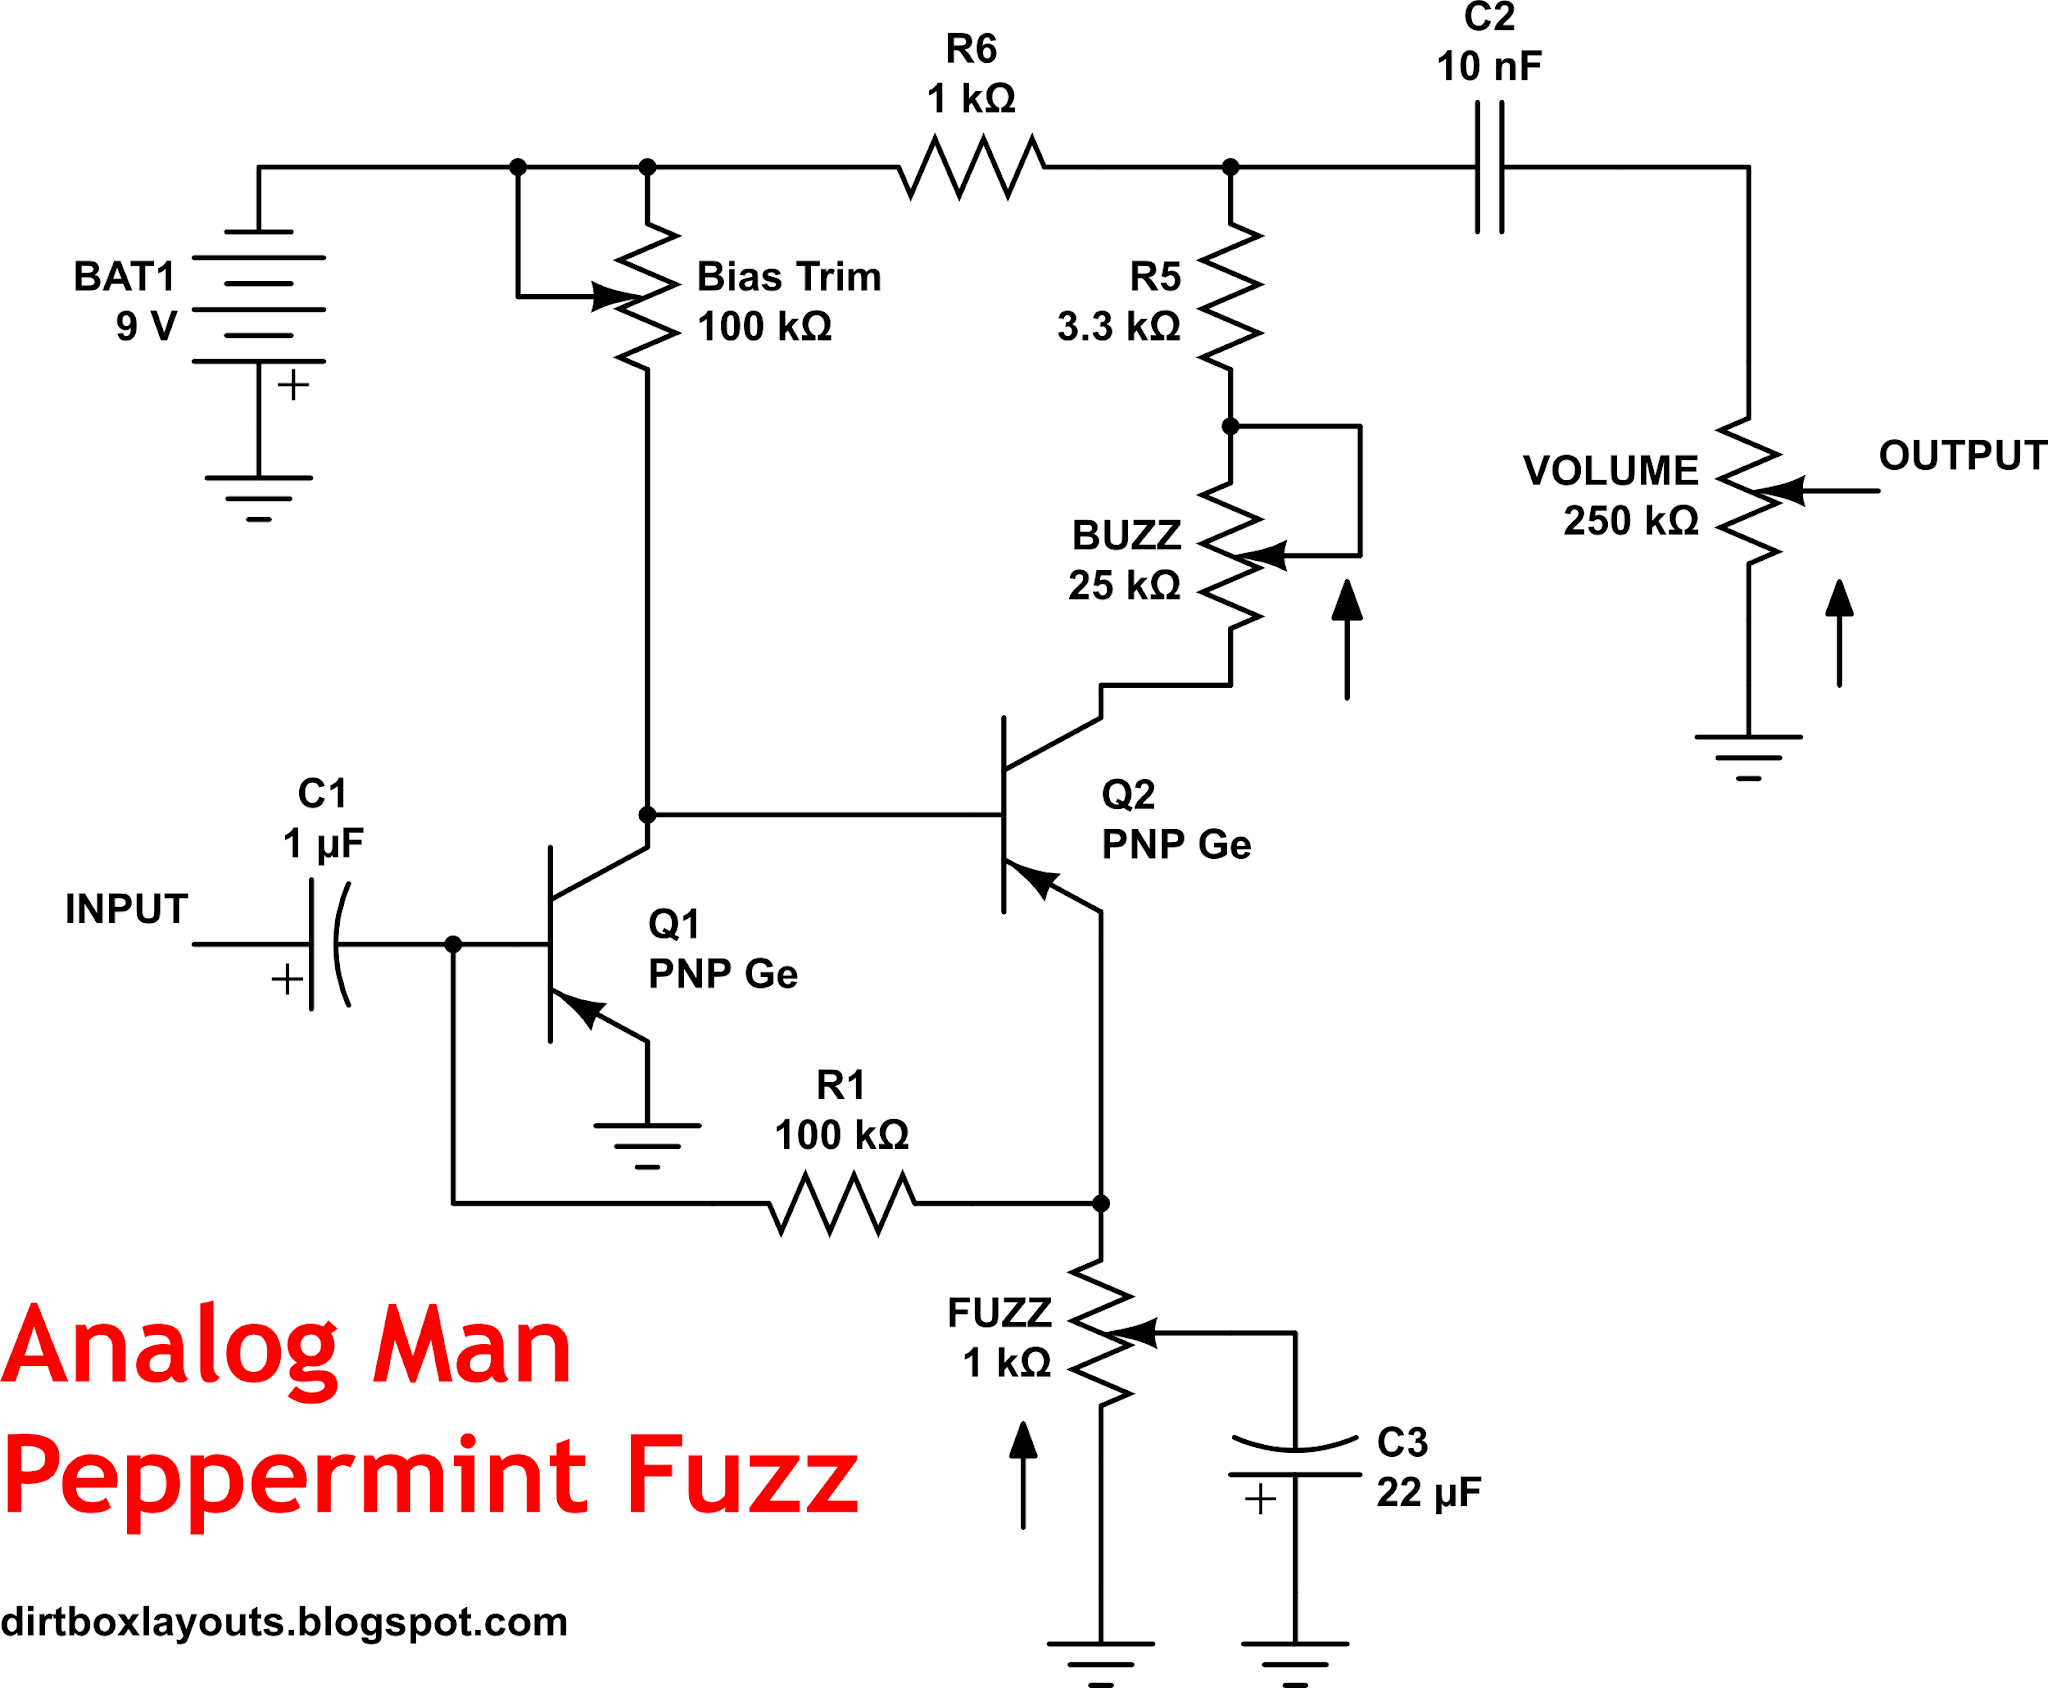
My request from all of you: if any of you have found a great fuzz face derivative please share it in the comments below. I just ask that you also include a schematic as well for future builders/breadboarders.

A few words about the Fuzz Face. Like I said, this is almost a rite of passage to build. If you'd like to learn more about how the circuit works there are a ton of resources out there, but here are a few that I've found.


It should also be noted that the original circuit used PNP germanium transistors simply because that's all that really existed at the time. NPNs were expensive and from my understanding, unreliable. The topology I have below is wired for modern day silicon NPN BJTs. In theory, you can switch out NPN for PNP and apply -9V in the power section, but you may need to adjust some part values a bit. PNP germanium transistors are a bit harder to find (and a bit more expensive) compared to NPN silicon.

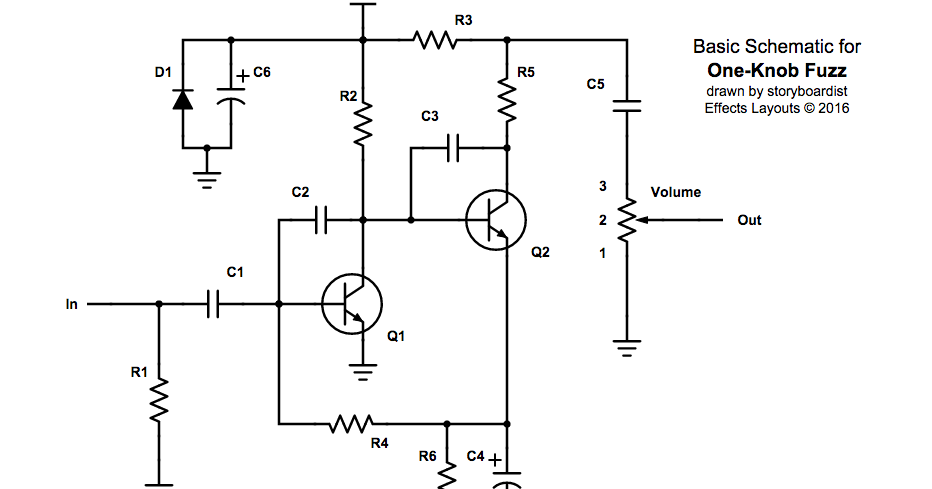
The original fuzz face had two knobs: FUZZ and VOLUME. Most people just crank the fuzz control and leave it there since it sounds best IMO. These one knob fuzzes just remove the pot and swap it for a resistor (usually 1k).

Since there are so many derivatives out there, I'd rather share how to breadboard just the overall topology. For my layout I decided to try out the DAM Meathead (Dark). Here's a schematic I created. C2 and C6 are not in every FF version, but in my layout they are.
1696621596536.png
For the DAM Meathead Dark, here is the BOM based on my ref des:
C1 470n
C2 470p
C3 100n
C4 100u
C5 10u
C6 47p
R1 1k
R2 18k
R3 120k
R4 820 ohm
R5 4.7k
Q1 BC108
Q2 BC108
VOLUME A100k

And the final build. Ready to get started?

1696621852459.png
 
Last edited:
Alright. First things first. Get out your breadboard. You can EASILY build a FF on a smaller board. I chose to use my protoboard micro simply because it needed some love.

Next. Power section. All that's needed is C4, which is an electro cap right in the power rails. Then we need some input and connect C1 for any stray DC that may come in. Stupid simple.

1696622899176.png

Continuing on, let's hook up Q1. The output of C1 goes to the base of Q1. R2 goes from power to the collector. Emitter gets jumpered to ground.

1696623028640.png

Now, we attach C2 between collector and base of Q1. This filters out some highs. The larger the value the more highs get cut. While we're at it, let's get Q2 ready. Out of the collector of Q1 and into the base of Q2. Mind the pinouts of course.

1696623152328.png

Let's work on the feedback loop between Q2 and Q1. Out of the emitter of Q2 and into the base of Q1 goes R3. Mine is 120k.

1696623228343.png

Also, out of the emitter of Q2, we need to add R1 and C5. Both of these go to ground.

1696623278751.png


Getting close to the end, folks. We still need to apply power to Q2. This is done with both R4 and R5. R4 comes from power into R5 and R5 goes to the collector of Q2. We also need, at least for my schematic, C6. This also goes from collector to base of Q2.

1696623388982.png

Down to the wire, everyone. Where R4 and R5 meet, we need to add C3. This filters out any DC from your signal and will get sent straight to the volume pot at pin 3. Pin 1 should be jumpered to ground and pin 2 is your output.

And viola! She's done. Your very own Fuzz Face. A very simple build, but a joy to tweak.

Enjoy!

BuddytheReow

1696623582918.png
 
If you can read stripboard layouts (and if you can breadboard you can figure this out) here are a handful of one knob fuzzes using this topology. It's where I got the dark Meathead from and traced it. If you need a point in the right direction about stripboard, here you go.

1696627799327.png
 
Anybody got some Fuzz Face derivations that are good on BASS?

Mountainking-Electronics-Megalith-Schematics.png
 
I'm hoping to apply your breadboarding tutorials to try out both versions of the Ge Schaller Fuzz!

I did also have a quick clarifying question, if you don't mind my asking: I was under the impression that a dot on the schematic meant you needed a connection between components, but on first glance it didn't look to me like there was one between R2 and R4. Is the connection between the two resistors actually happening via the jumper from the collector of Q1 to the base of Q2, or do I need to re-read some of the intro to breadboarding posts? (Though honestly, I should probably do that anyway)
Schaller151.jpg Schaller192.JPG
 
I'm hoping to apply your breadboarding tutorials to try out both versions of the Ge Schaller Fuzz!

I did also have a quick clarifying question, if you don't mind my asking: I was under the impression that a dot on the schematic meant you needed a connection between components, but on first glance it didn't look to me like there was one between R2 and R4. Is the connection between the two resistors actually happening via the jumper from the collector of Q1 to the base of Q2, or do I need to re-read some of the intro to breadboarding posts? (Though honestly, I should probably do that anyway)
View attachment 57946View attachment 57947
Based on the schematics you've posted, there is no connection between R2 and R4.

The schematic BtR posted in the OP has a connection between R2 and R4.


Different schematics can have the same physical part of a circuit labelled differently ... so for example, BtR's schematic's R2 is your posted schematics' R1.

Or am I missing something in your question?


EDIT: One end of BtR's R2 is connected to both the COLLECTOR of Q1 and the BASE of Q2, the opposite end of R2 is connected to power as is one end of R4

MEATHEAD DARK BtR's breadboard.png

Since the breadboard is shown on its side, the columns such as the power and ground are now horizontal instead of vertical; power and ground pads are now connected horizontally.
The rows of ABCDE and FGHIJ are connected vertically...

Hope this helps.
 
Last edited:
I'm hoping to apply your breadboarding tutorials to try out both versions of the Ge Schaller Fuzz!

I did also have a quick clarifying question, if you don't mind my asking: I was under the impression that a dot on the schematic meant you needed a connection between components, but on first glance it didn't look to me like there was one between R2 and R4. Is the connection between the two resistors actually happening via the jumper from the collector of Q1 to the base of Q2, or do I need to re-read some of the intro to breadboarding posts? (Though honestly, I should probably do that anyway)
View attachment 57946View attachment 57947
You may need to restate your question.

However, the “dots” you mention aren’t industry standard. There are a few ways to draw schematics. The dots we are familiar with and mean that there is a connection between components or jumpers. This is usually done automatically using some sort of CAD software like I did.

There is also a drawing method where there are no dots. When lines intersect, there is a connection. If there is no connection, meaning paths do not connect, some will draw a half circle. Think of it as the circuit “jumping” over that path and connects somewhere else. People that draw schematics freehand (pencil and paper) draw it this way. If you’re clever enough with schematic drawing you don’t need the half circle.

I’ve seen both.
 
Last edited:
Based on the schematics you've posted, there is no connection between R2 and R4.

The schematic BtR posted in the OP has a connection between R2 and R4.


Different schematics can have the same physical part of a circuit labelled differently ... so for example, BtR's schematic's R2 is your posted schematics' R1.

Or am I missing something in your question?


EDIT: One end of BtR's R2 is connected to both the COLLECTOR of Q1 and the BASE of Q2, the opposite end of R2 is connected to power as is one end of R4

View attachment 57961

Since the breadboard is shown on its side, the columns such as the power and ground are now horizontal instead of vertical; power and ground pads are now connected horizontally.
The rows of ABCDE and FGHIJ are connected vertically...

Hope this helps.
Ah, sorry, should've broken out my post more cleanly. I wanted to add the Schaller schematics as a couple of other FF derivatives per @BuddytheReow 's ask in his initial post.

My question was about the connection between R2 and R4 in the Meathead schematic, which I originally had a hard time spotting on the breadboard. Based on what you laid out, though, am I right that R2 connects to R4 via R2's connection to Q1 and then Q2 and R5?

This was a bit of a lightbulb moment for me because I had taken the dot symbol on a schematic to mean the two components needed to be connected directly, but now I get that the connection can happen via other components as well. Appreciate both your responses, thanks!
 
If you have high gain, low to medium leakage transistors, I highly recommend build a clone of the Analogman Peppermint Fuzz:

analog-man-peppermint-fuzz.png


Good transistors for this circuit include OC42/CV8252, GT115D, and 3AX31C. Look for hFE in the 160-220 range for Q1 and 200-300 for Q2, ideally with leakage under 200 µA (leakier transistors make it way more sensitive to temperature changes). I'd also recommend using a C1k potentiometer for the fuzz control. Turning the fuzz control up all the way gets you fuzzy, gnarly 60's garage fuzz tones. Around the time you get to 12:00 on the fuzz control, you're back to classic fuzz face territory. It's a fun, easy build with very few parts. You don't even need a multimeter to bias it—all you need to do is turn the buzz control all the way up, and lower the bias trim until the circuit mutes. Then turn the bias trim back up until you start to hear a some noise again, and you're good to go.
 
...My question was about the connection between R2 and R4 in the Meathead schematic, which I originally had a hard time spotting on the breadboard. Based on what you laid out, though, am I right that R2 connects to R4 via R2's connection to Q1 and then Q2 and R5?
...
No.

Both on the breadboard and on the schematic, ONE END of R2 connects to ONE END of R4 by the simple fact they're both connected to the power-rail.

Let's label that one end connected to the power-rail (and C4) R2a and R4a for each resistor respectively. Now what is the other end of R2 and R4 up to?
We'll call the other ends R2b and R4b.

The other end of each resistor connects to whatever they need to, and in the case of...
R2b connects to:​
C2​
Q1 Collector​
Q2 Base​
C6​
R4b connects to:​
R5​
C3​

That's it. There are no other connections on either side of R2 and R4.
 
Last edited:
6EE26BAA-5CF2-4A0E-823D-E06B47E6F672.jpeg

There is the PPCB sunflower fuzz. Using a couple g10bs. This is my first dive into pnp germs and this is pretty fantastic compared to the silicon ones I’ve built before in my opinion. Sounds a warmer with a bit more fur IMO. Schematic is in the build docs.

Edit both very low leakage. 72 hfe for q1 and 124 for q2. Boards will be here tomorrow but I hate sockets so just going to do a bunch of Transistor testing on the breadboard.
 
1698128015244.png
This is the result of what I've been tweaking for a bit here. I've found I prefer running a pot as a series resistor out front for gain instead of using the standard arrangement. hFE for both 3904 in my current proto measured 213 using one of those chinese test any component testers.
 

The One Knobber project from Effect Layouts, for perfboard builds. The webpage has a link to a PDF with different values for different versions ("ColorSound One-Knob, D*A*M Meathead and Dark Meathead, and a one-knob adaptation of the '66 Vox ToneBender, and I've added the Ritual fuzz by Black Arts Toneworks")
 
View attachment 59052
This is the result of what I've been tweaking for a bit here. I've found I prefer running a pot as a series resistor out front for gain instead of using the standard arrangement. hFE for both 3904 in my current proto measured 213 using one of those chinese test any component testers.

What does the Q1-C --> Q2-B capacitor do?
 
Back
Top