Caeser Chorus Mounting

Itsmedant

New member
Hey all! New to the forum but I’ve built a few pedals in the past. Mainly wah wahs with a guy who owned his own company that made them, so plenty of room to run wires between switches and pots!

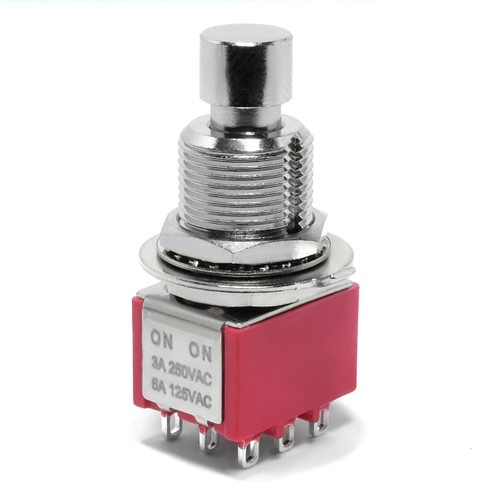
This is the first full build I’ve done with everything mounted directly to the PCB and I thought I did a pretty good job with lining up the drilling template but now that I’ve test mounted everything, I have found that i overestimated my skill level at that point. Everything is a bit low by a few millimeters which prevents the pots to “lock in” to their spots on the pcb without bumping into the switch.

My question here, I have a ton of hookup wire and heat shrink available, can I just solder some of it too the lugs on the pots/switches and run it into the pcb spots? Anyone see any huge issue with doing that?

Or do I need to scrap the enclosure and try again? IMG_9620.jpeg IMG_9618.jpeg
 
I also have some liquid electrical tape I was going to put on the back of the pots just in case too.

I’m going to see if slightly bending all the posts will help, but I think the toggle switch is going to be the one that prevents it, it’s lugs are pretty small and strong….may end up just damaging the switch but not sure!
 
You can do what has been suggested above or purchase a smaller version 3pdt Footswitch like this:
Alpha does them as well!
Ooooooh may have to grab a few of these as well. I got 2 other pedals on the bench now too!
 
What is the best strategy for this?? Solder them onto the board then “gently” guide them into position?
As others mentioned - the toggle prevents any leg bending adjustments. Even if you could do that, there’s some risk of damaging your pots or your board. Doesn’t seem worth it to me.

I think elongating the footswitch hole with a Dremel or a round file is your only real option to salvage that enclosure.

The Caesar is a cool sounding pedal, probably worth just getting another enclosure for it.
 
It's a hard ask, you can offset the toggle hole with a file & use the provided washer that comes with it & that sorts out that issue.
The centre top pot is fixable with some slight bending.
To connect the other 3 pots I would resort to to solder lug pots with hook up wire!
The Footswitch , I would go for the Mini version of it!!!
You will need another set of skills to bend the 2 led 's into the 2 chrome bezels!
After all this, I hope the Circuit works???
 
I think elongating the footswitch hole with a Dremel or a round file is your only real option to salvage that enclosure.

I think I’m going to give this a try tomorrow and see if it gives me enough space to fit it all in there. If not, I’ll just try on another enclosure! I need to get my 3d printer up and running so I can print of that enclosure guide someone made here

The Footswitch , I would go for the Mini version of it!!!
You will need another set of skills to bend the 2 led 's into the 2 chrome bezels!
I think I’m going to order a handful of the mini switches anyways. Does the switch pcb fit on those as well? Was debating on grabbing a few of those too.

I hadn’t even fully planned out what I was going to do about the LEDs. I was going to put them in and perhaps run a small wire from each leg.

But at this point, the amount of extra work I’ll need to do is probably how long it would take to drill out another enclosure!
 
Well that escalated quickly…went to the site to buy JUST the low profile switches…$70 later my order is in.
Welcome to the fold.
The smaller 3pdt fit the PCBs fine and I'd recommend them at least for tight builds. I enjoy direct wiring the footswitches but when it's that tight, go with the pcb. Also. Note previous comment on header pins. Way easier than scrap leads imo and more sturdy if the circuit has to come back out.
 
Back
Top