Dan0h
Well-known member
- Build Rating
- 5.00 star(s)
This one has been in and out of my cart for a while and after watching @jjjimi84 video of his for the who knows how many times I finally pulled the trigger.
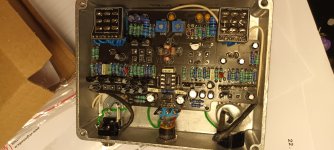
Boxed it up and no dice. Bummer. Then I realized I bet those dual gangs are most likely grounding out, quick check and yup. Fixed it and tried again and wham! This thing is pretty awesome. It’s also really cool how much you can dial the exact sound you want in via the two trims inside. It’s fun to watch that little lamp swell up with brightness.
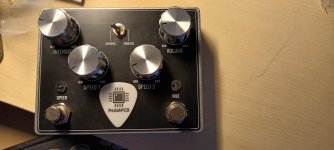
I had a 1590c sitting around so I used it. It’s super tall but for this build it works just fine. My first faceplate build as well and I have to say I have missed the boat on graphics. My 2023 is going to be focused on graphics.
Anyway, cool pedal sounds accurate to me. Love the look as well.


Boxed it up and no dice. Bummer. Then I realized I bet those dual gangs are most likely grounding out, quick check and yup. Fixed it and tried again and wham! This thing is pretty awesome. It’s also really cool how much you can dial the exact sound you want in via the two trims inside. It’s fun to watch that little lamp swell up with brightness.
I had a 1590c sitting around so I used it. It’s super tall but for this build it works just fine. My first faceplate build as well and I have to say I have missed the boat on graphics. My 2023 is going to be focused on graphics.
Anyway, cool pedal sounds accurate to me. Love the look as well.