DailyDovetails
Well-known member
I was reading in a build report and there were some first builds posted there. I thought it might be fun to have a thread where we can post our first builds and what we learned from them.
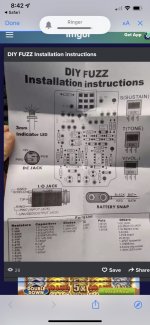
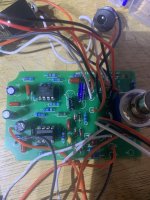
My first build which I haven’t posted before was a distortion 250. I didn’t measure any of the parts before putting them in nor really have a good idea what was what. All the parts are from Amazon. It somehow miraculously worked right off.
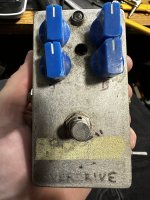
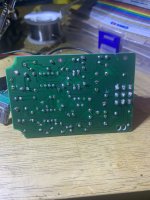
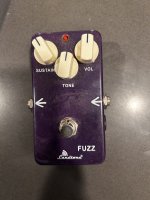
This pedal is from before I could print knobs, multi color or text(well). The logo on this pedal is just a void that is then filled with acrylic paint. In general I hold a higher standard for my enclosures now.
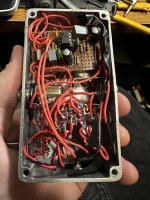
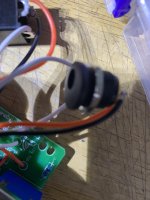
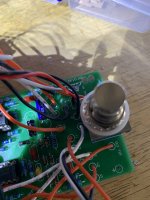
The inside apart from a few suspicious joints and burned wires honestly isn’t that different from what I do now. I did struggle to get good solder joints on the jacks tho. I strip the chrome plating from them now with a small file and hold the freshly tinned tip so it makes a ton of contact and do OK on them now.

So there is my first build. If you are brave enough to post yours try to include something you learned or do differently now.
If this was already done before I don’t think it had been posted into for a while as I couldn’t easily find it.
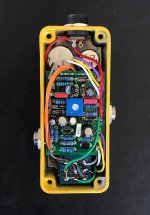
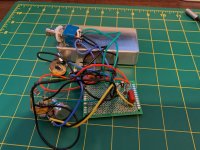
My first build which I haven’t posted before was a distortion 250. I didn’t measure any of the parts before putting them in nor really have a good idea what was what. All the parts are from Amazon. It somehow miraculously worked right off.
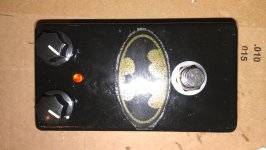
This pedal is from before I could print knobs, multi color or text(well). The logo on this pedal is just a void that is then filled with acrylic paint. In general I hold a higher standard for my enclosures now.
The inside apart from a few suspicious joints and burned wires honestly isn’t that different from what I do now. I did struggle to get good solder joints on the jacks tho. I strip the chrome plating from them now with a small file and hold the freshly tinned tip so it makes a ton of contact and do OK on them now.


So there is my first build. If you are brave enough to post yours try to include something you learned or do differently now.
If this was already done before I don’t think it had been posted into for a while as I couldn’t easily find it.