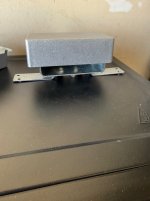
I FINALLY got a chance to test everything today. Between the recent cold snap in Denver and a busted compressor, it took a while to get here but overall I’m pretty happy with the results.
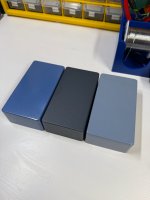
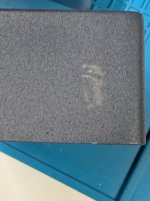
My first attempt was Old Navy, a textured flat finish. It turned out great overall, my only issue was a small spot where I accidentally bumped it while moving it.
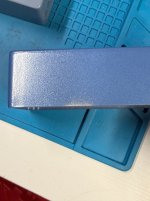
Next was Modec Blue in a semi gloss. This one was so close to perfect. I had the gun a little too close, and a small area ended up slightly underdone.
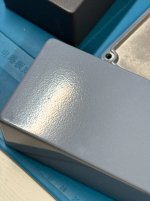
Last was Battleship Gloss. Coverage was good, but I did get some orange peel.
The main issue I ran into was with the oven. I just couldn’t get the enclosures up to 400F. It’s technically an “oven,” but it feels more like a toaster oven. The enclosures hovered around 360–375F even when I cranked it to 450. Old Navy only needs 350F so that one cured fine.
I did a test run yesterday and got raw enclosures up above 400. It was also pretty cold today, unheated garage, probably mid40s.
Was it dumb to change color after just doing 1? Probably. I wanted to give a couple finishes a chance.


")
")