SOLVED Curds & Whey - no led/sound, bypass works

jcpst

Active member
Hello. This is my first build. I’m going to start researching how to troubleshoot this, but maybe there’s something obvious that I did wrong that the pictures reveal.

As I mention in the title, sound passes through fine when bypassed. When I click it on, no LED, no sound.

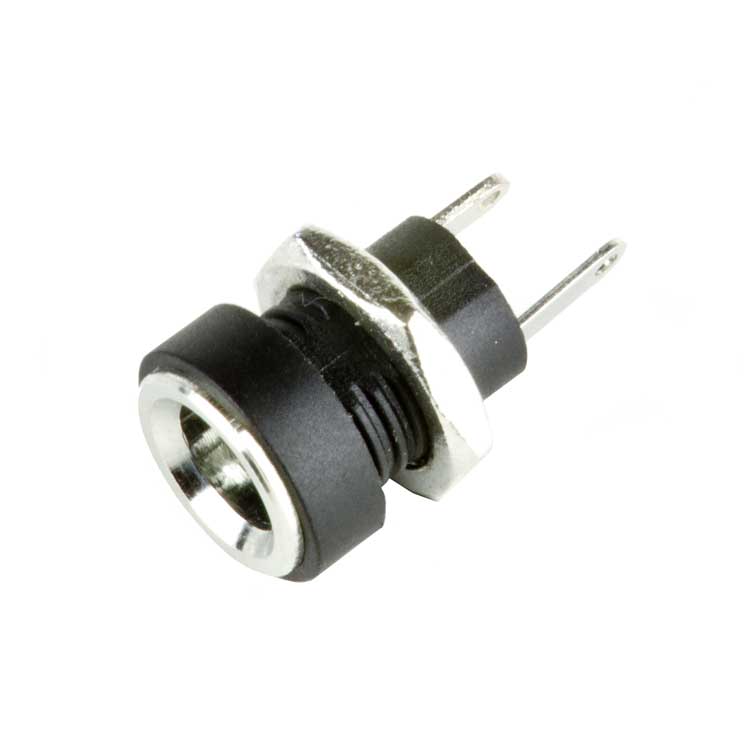
The power socket was attached, but I removed it so I could take a picture of the back side of the PCB. It was wired correctly afaik.

Any feedback provided is greatly appreciated!

IMG_0122.jpeg
IMG_0120.jpeg
IMG_0119.jpeg
 
What are you using for power?

I'd also recommend trimming the leads on the backside down to the solder and checking carefully for any unintentional bridges.
 
1704478759161.png

What's going on here? are those the leads from the LED? It's probably just the angle of the photo but trim them and make sure they aren't touching anything.

I would suspect the usual. i.e. accidentally connecting the power backwards, plugging the IN cord to the OUT jack because you're working on it upside down, or just a bad solder joint somewhere.
 
Just from the very act of trimming the leads down farther, I found a few caps and diodes and actually broke loose during that. So I have some bad solder joints to fix.

Thanks for all the other pointers folks. I’ll be back!
 
Just from the very act of trimming the leads down farther, I found a few caps and diodes and actually broke loose during that. So I have some bad solder joints to fix.

Thanks for all the other pointers folks. I’ll be back!

A couple things that it took me years to internalize that totally make the difference.

Make sure you leave the soldering iron on the leads long enough for the solder to "flow". just a second or two after the solder melts, but someone new to soldering is far more likely to apply the iron for too short of a time than too long.

Heat the lead and the pad then touch the solder to the hot parts to get it to melt don't touch the solder to the iron tip to get it to melt.

If that doesn't make sense, do it until it does.

99.9% of issues building pedals are bad solder joints.
 
ok. A little progress. I flipped the power jack and now the LED lights up. But otherwise the same. - bypassed signal goes through, nothing when activated.

I was excited for a second because I took the opamp out while resoldering joints and forgot to pop it back in. But nope, not that lucky yet!
 
A couple things that it took me years to internalize that totally make the difference.

Make sure you leave the soldering iron on the leads long enough for the solder to "flow". just a second or two after the solder melts, but someone new to soldering is far more likely to apply the iron for too short of a time than too long.

Heat the lead and the pad then touch the solder to the hot parts to get it to melt don't touch the solder to the iron tip to get it to melt.

If that doesn't make sense, do it until it does.

99.9% of issues building pedals are bad solder joints.

This seems like a legitimate culprit. While I was aware that you don't actually touch the solder to the iron tip to get it to melt, that wasn't how it always worked out in practice.

I was worried about frying components with too much heat, but perhaps I was being overly cautious and not getting a good joint. Is that less of an issue if it's not something like an opamp or germanium diode?
 
I gotta pause on this until tonight or tomorrow, but a little more progress. Just been checking for bad joints, bridges, swapped wires... Now when I flip it on, I can hear the level knob on the pedal attenuating a 60Hz hum.
 
This seems like a legitimate culprit. While I was aware that you don't actually touch the solder to the iron tip to get it to melt, that wasn't how it always worked out in practice.

I was worried about frying components with too much heat, but perhaps I was being overly cautious and not getting a good joint. Is that less of an issue if it's not something like an opamp or germanium diode?

It is primarily a concern for Transistors and Op Amps (or any IC) That's why most folks use sockets for fragile components so they are never installed when you're applying heat. You seem to have gotten the memo on that tip.

The key for me was to actually watch to SEE the solder melt and flow into the PCB hole. once you get the feel for it you are set for life.

Thanks, that's reassuring. Right now, half the time I solder I get a ball that doesn't quite want to go to the bottom.

I have a spare board and resistors, maybe my next step will be a little more solder practice until I'm "in the flow"
 
Thanks, that's reassuring. Right now, half the time I solder I get a ball that doesn't quite want to go to the bottom.
If your solder has flux (rosin core) in it, sometimes applying just a little more will help it flow. Else, try to remove excess on your tip.
Those big ball are not what you want.
 
Thanks, that's reassuring. Right now, half the time I solder I get a ball that doesn't quite want to go to the bottom.

I have a spare board and resistors, maybe my next step will be a little more solder practice until I'm "in the flow"

Absolutely. If that's happening half the time, do yourself a favor and clean the solder tip obsessively and practice.

Any time you spend getting it right now will save you endless hours (and dollars) of frustration. I screwed up at least 50 percent of the Tag board projects I used to build that I am sure were all solder technique related.

After a couple years of stupidity, I finally slowed down and gave it the attention it required I became a much happier person.
 
I'd also advise you to use stranded wire for offboard wiring. Especially when you're new to this. All the finagling you're going to do learning how to drill holes, troubleshoot and get everything to fit in the enclosure properly is going to lead to broken leads.
 
Back
Top