PedalBuilder
Well-known member
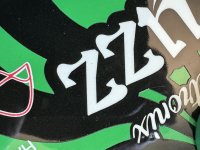
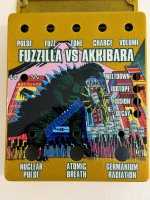
Same here. Like you said, it's an iconic design. I really like Big Monk's idea of moving the control labels into the arrows; gonna have to borrow that for a future build.I did something similar last year. It’s an iconic design and it’s where I ended up pulling my name from.
(And I also need to make sure to double check the footswitch drill coordinates next time.)