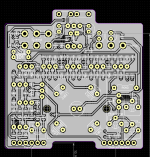
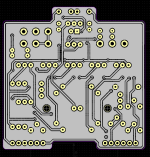
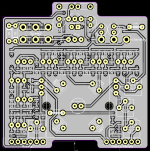
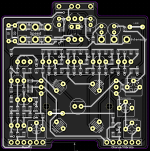
Bring out yer Diptrace

The SMD version: https://jlcpcb.com/parts/componentSearch?searchTxt=C126744
B3GA4.5Z
B3G and B4G are the same in different dimensions.

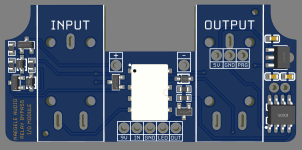
I got my layout of your smart IO in and verified. It's a nice little package. I have to play with components to remove extended parts (4x at present), but I'm pretty happy with it. Programming with UPDI is so much easier, just add a RPi, a 1k resistor, and you're set! Even 1590B friendly!
View attachment 78060
I'm feeling the peer pressure
 
I'm pretty happy with how this one has turned out. I got it down to 57x27mm, so it should fit into pretty much any build without needing to move the controls or main PCB further down the enclosure. I probably won't be ordering this in the near future, as I have about 25 each of my I/O and relay bypass boards right now, but I'll be ordering this one when I start getting low again.
1720305998508.png
 
Got a few on their way to me

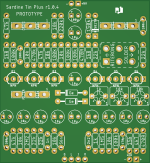
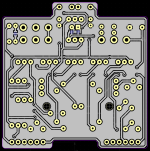
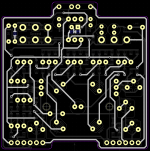
New layout of the Sardine Tin Plus (modded superfuzz)
1720583647513.png


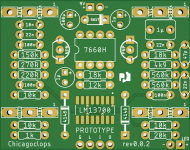
A test board of a MPB forum member's project that I liked the sound of--with some value adjustments. SMD necessitated some top layer traces and vias, so not as pretty. And the pots aren't named like the original, my B :ROFLMAO:
1720583821641.png


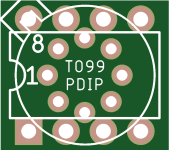
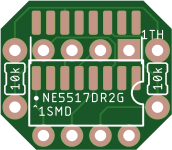
and a couple adapter boards
1720583879300.png 1720583892117.png

Also, SBP has 13700 SMDs (made by coolaudio???) for 50% less than Mouser (TI)
 
I think this is what I will be ordering:

1721236018836.png
1721236050189.png
1721236081258.png 1721236115473.png

I've been trying to finish this circuit for months. I would get to a place where I liked what was happening and then it would go to shit and I'd start over.

Overall I think it's about as aesthetically pleasing as I manage given the single board and size. My optical phaser design will flow right out of this.
 
Just sent this one off to JLC:
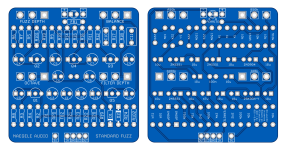
Standard Fuzz PCB.png
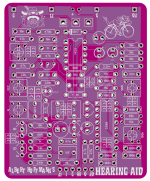
I've been playing around with the Ibanez Standard Fuzz circuit for the past couple weeks. It's an even gnarlier derivative of the Univox Super Fuzz, with a JFET input stage, a gainier phase splitter, and a more intense mid-scoop. The Tayda 2SK30A JFETs work well for Q1 in this circuit; all I had to do was make a slight tweak to the value of the source resistor (R3/R4), and it hit the bias voltages perfectly (and sounds right, too). I'd recommend making the source resistor a 5k trimpot if you plan on making more than one or two of these; otherwise you'll need to breadboard the input stage before each build. I made a few small modifications to the circuit:
  • Added an octave control to adjust the intensity of the octave up overtones
  • Added a resistor (R24) between the diodes and ground to soften the knee of the clipping a little
  • Removed the tone switch. Instead, I added an A100k pot between C11 and ground, which goes from full scoop to flat mids as you turn it up.
  • Changed the biasing of the output stage to increase the output volume
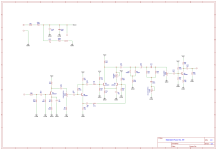
I also added ferrite beads to the DC and audio inputs. I'd seen this done in Spaceman pedals before, but I was curious as to whether it actually did anything. Turns out that, at least on the breadboard, it significantly reduces the noise level of the pedal without changing the tone at all. Here's the schematic:

Standard Fuzz Schematic.png
 
Last edited:
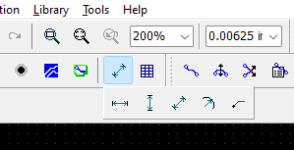
I had the reverse issue up until you mentioned it: I did not even k ow there was a measuring tool.

The dimension tool is so much more useful I must have glossed right over it.

I can see that haha. I don't see the ol ruler coming out much after this.
 
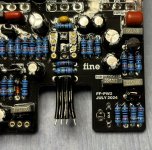
Aren't the resdef / values on the wrong sides? Ie. you need values on the front for population, and the rear for troubleshooting.
They’re on the right side for my workflow. I like to follow the schematic as I populate the PCB, so it’s easier for me if I keep the refdes on the top silkscreen layer. Additionally, for octave fuzzes with a differential pair like this one, I like to match the resistors in the octave section (R7-12, R15, R16) as closely as my Fluke will allow. This actually makes a big difference to my ears, and results in a stronger octave than just using a trimpot for the differential pair’s base to ground resistors. So for a circuit like this, it’s nice to be able to identify which 1k/10k/22k resistors need to be matched without having to flip over the board. The reason that I started putting values on the back is to serve as a backup of sorts in case the schematic is ever lost, rather than for ease of assembly on my part.
 
Last edited:
They’re on the right side for my workflow. I like to follow the schematic as I populate the PCB, so it’s easier for me if I keep the refdes on the top silkscreen layer. Additionally, for octave fuzzes with a differential pair like this one, I like to match the resistors in the octave section (R7-12, R15, R16) as closely as my Fluke will allow. This actually makes a big difference to my ears, and results in a stronger octave than just using a trimpot for the differential pair’s base to ground resistors. So for a circuit like this, it’s nice to be able to identify which 1k/10k/22k resistors need to be matched without having to flip over the board. The reason that I started putting values on the back is to serve as a backup of sorts in case the schematic is ever lost, rather than for ease of assembly on my part.
Since you're rolling your own boards, have you considered resistors arrays? 0.05% matched are just a few bucks.
Or maybe that takes the fun out of it.
 
Back
Top