blackhatboojum
Well-known member
Me too! I’m totally stoked for this one. As soon as I get the email that it’s in stock, I’m buying it!Oh shit! I was wrong— it *is* a BF-2 and not an MXR! Now I’m even more excited than I was before!
Me too! I’m totally stoked for this one. As soon as I get the email that it’s in stock, I’m buying it!Oh shit! I was wrong— it *is* a BF-2 and not an MXR! Now I’m even more excited than I was before!
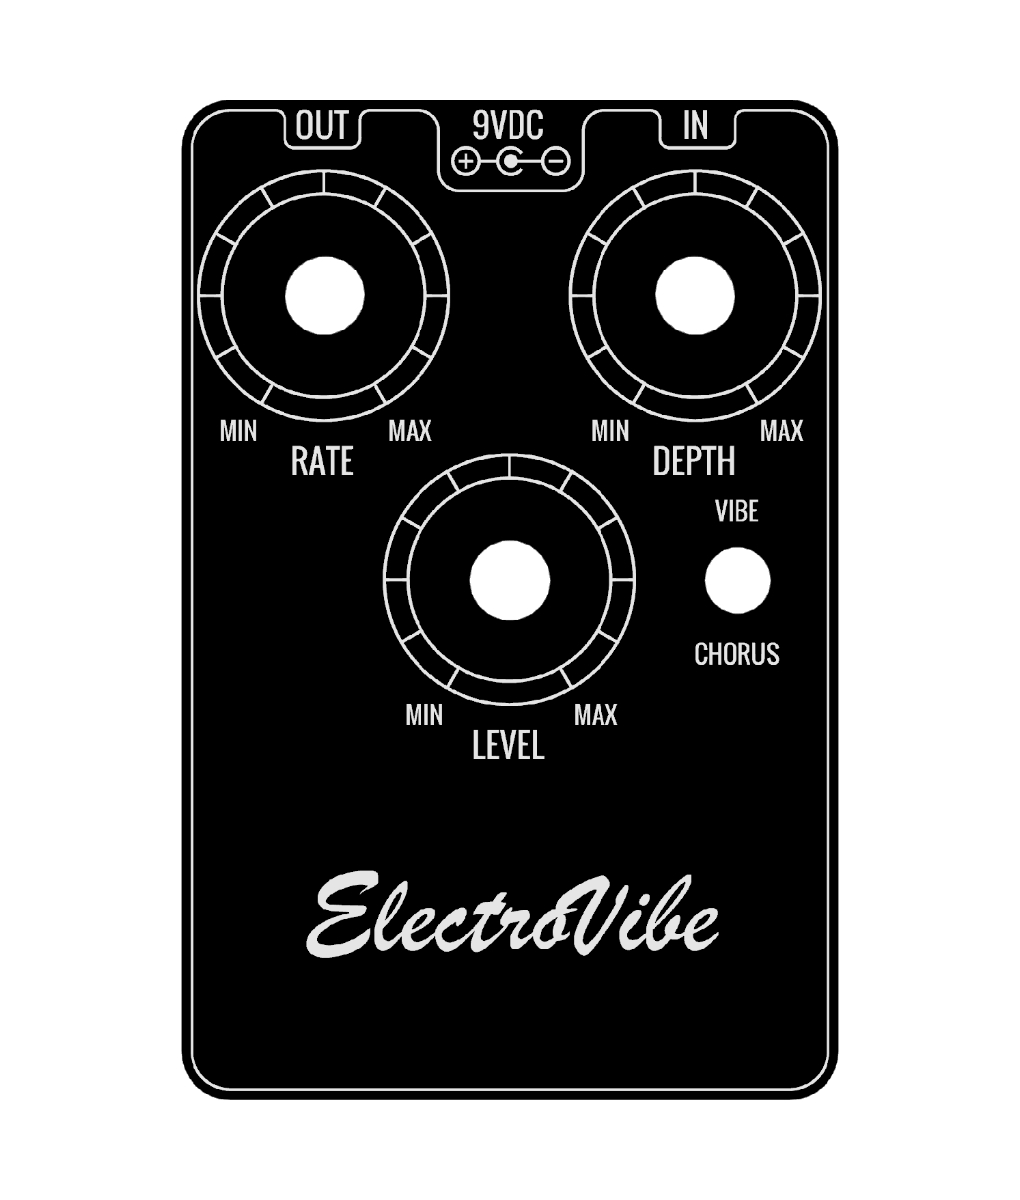
Is there going to be a faceplate for the Electrovibe mini as well?
Hearing this is honestly as good as hearing that I guessed right hahaha

Plans on a Revv G8 clone?
Tell us what you really think!This is diy not do half assed
Damn fine looking Op-Amp Fuzz Face...
A Boost for Bass Players!
Pic is gone. Whaddid I miss?YYYYEEEEEEEESSSSSSS!
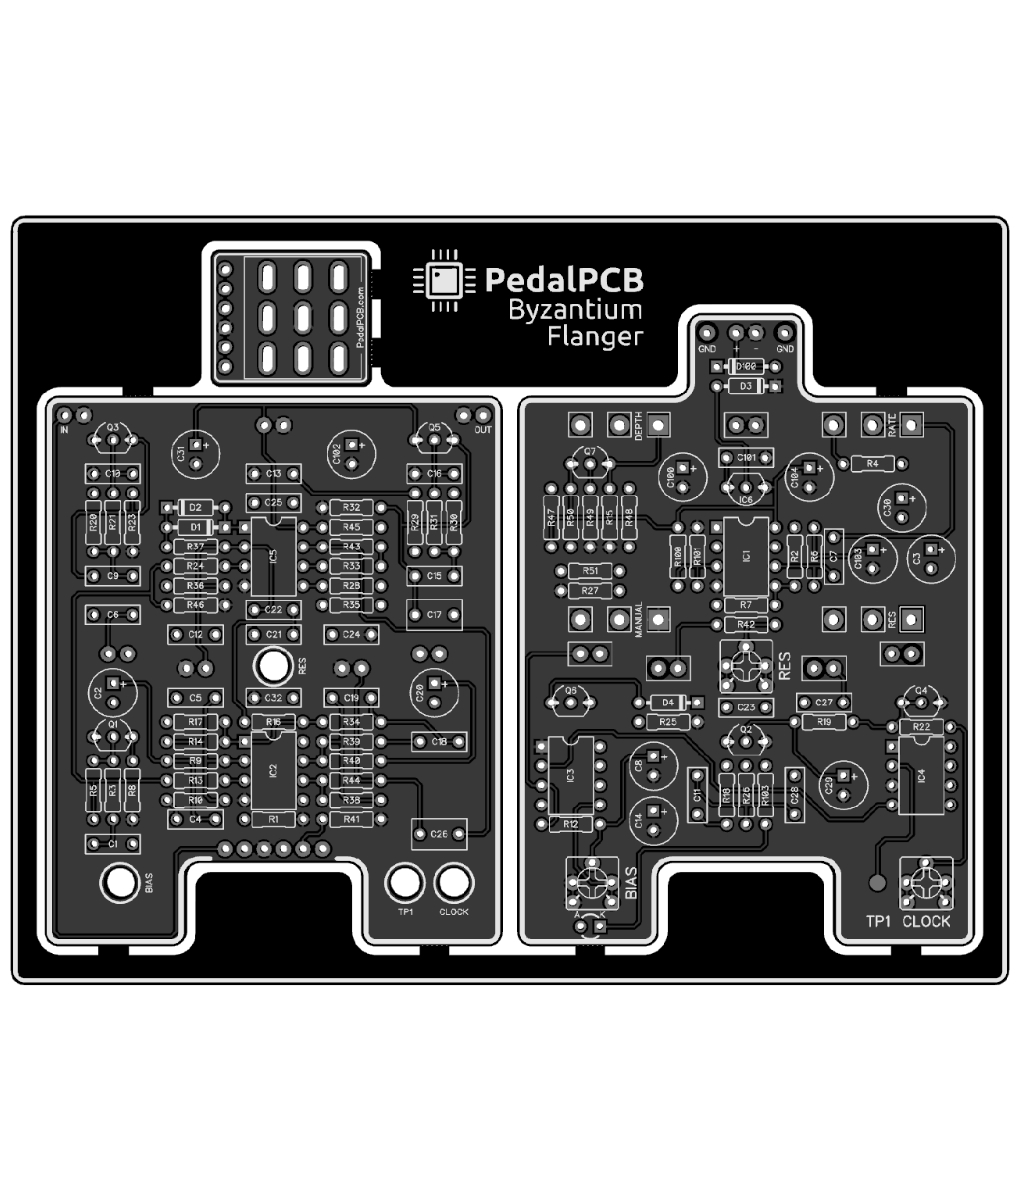
Pic still shows for me. It’s a completed prototype of the Electrovibe mini.Pic is gone. Whaddid I miss?
Just wondering if the standard pre-drilled Tayda 3 hole 125b enclosure would work if you left out the vibe/chorus switch??
Thanks !The LED placement is different.
The template is here: https://drill.taydakits.com/box-designs/new?public_key=S1hGODFJTjliVXFQM2dXMnJyWDRpQT09Cg==
I guess I assumed the chorus wouldn't be that great compared to a dedicated pedal like the Julia. But you might have a good point. I don't use Chorus much so perhaps this would work.why would you leave off the Vibe/Chorus switch?


