kristopher
Well-known member
- Build Rating
- 3.00 star(s)
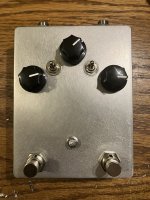
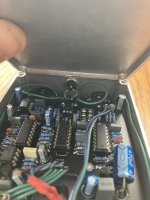
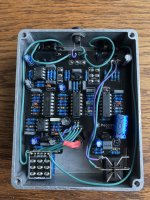
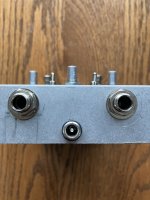
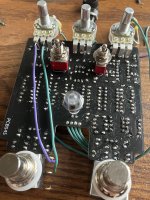
If you decide to build the Octarock, with a switch to disengage the upper octave, put it in a tall enclosure. I used a 1590bb. The jacks are as high as possible, and I taped the area where the input/output can rub the Pcb. If the jacks were lower, then the components and switches get rubbed, I think. I had it in and out of the enclosure a dozen times. Most of the holes are bigger to allow some wiggle, and are barely covered by the washers. I messed up on the 9v jack location. I had to notch the back plate. No big deal. I’m happy it all fit.
Also, I had to wait for the LM348 to be delivered. So I tried the circuit without an IC in there. It works, but without the upper octave. I plopped a TL074?? in there and it worked, but not a smooth(?) as the LM348.
The switch mod was recently discussed in this thread: https://forum.pedalpcb.com/threads/octarock-additional-switches.18966/
I used a dpdt foot switch and I’m glad I did. Being able to pop the upper octave out is fantastic. If you have an Octarock, I suggest it. I plan on doing a shootout with the Octron, because I have one. It has a TL084CN in it. I hope an I phone recording will suffice. I’ll get to it tomorrow. So stay tuned.


